It may be difficult for some projector beginners to set up a projector and troubleshoot some common problems. In this post, we will introduce a setup guide and image troubleshooting solutions for the Jimveo projector.
Jimveo Projector Setup Guide
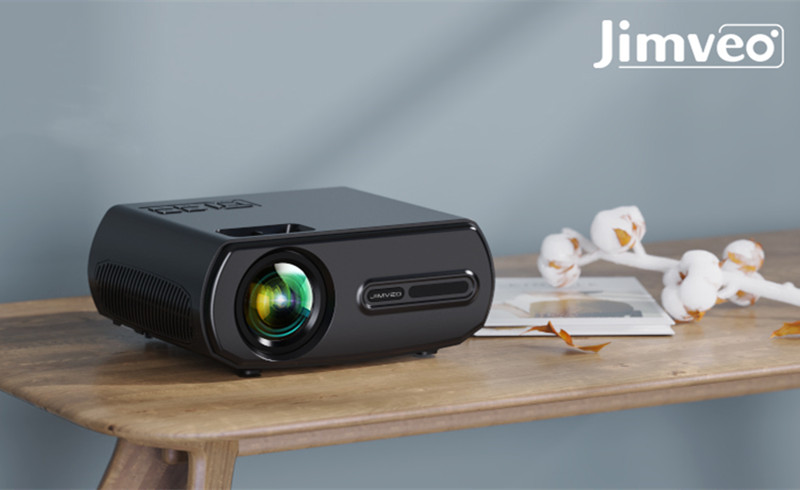
Unbox the Jimveo projector and remove the lens cover.
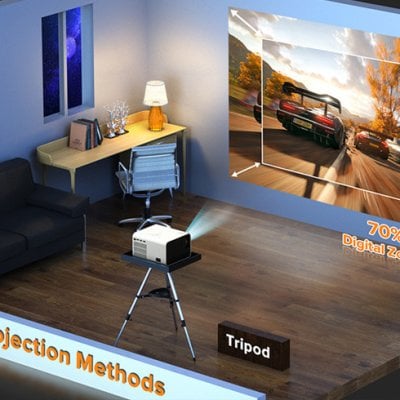
Place the Jimveo projector on a flat surface. If you need to mount this projector on the ceiling, then you need to get a special mounting kit.
Connect the Jimveo projector to the power supply using the power cord.
Fix a screen ahead of the projector, but if you don’t have a screen, you can project the image onto the white wall. To improve the image quality, you can get an ALR screen.
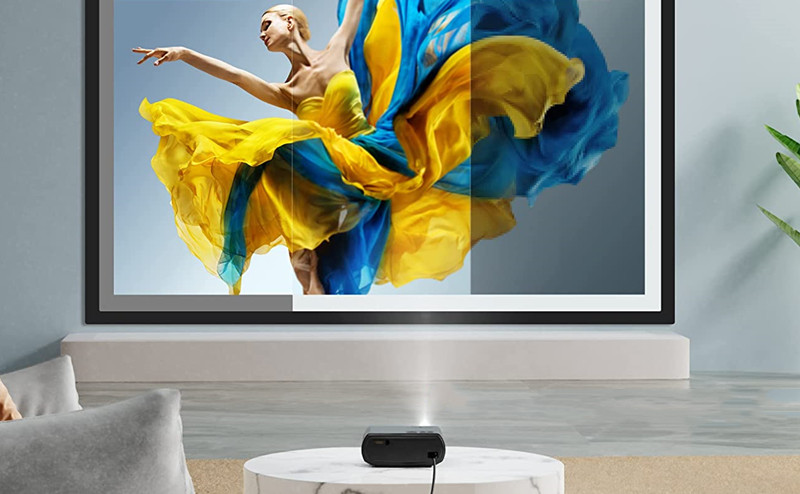
Before securing the projector on the ceiling or on a stand, you need to adjust the throw distance so that the projection image and your screen are matched and fit.
Adjust the focus button of the Jimveo projector until the projection image gets clear. The projector and the screen should be aligned to make the image rectangular. You can use the keystone slider to make the image rectangular.
As most Jimveo projectors have no built-in smart system, and you need to connect the projector to an external streaming device or other external devices to access the content.
You may be interested in How to Connect Jimveo Projector to iPhone.
After connecting the projector to external devices, you can switch the input sources by pressing the Source button on the remote.
That’s all for the guide on Jimveo Projector setup.
Related Posts