Connecting your laptop to a projector can significantly enhance your presentations, movie nights, or gaming sessions. Whether you’re in a business meeting or a classroom, knowing how to connect your laptop to a projector can be incredibly useful. This guide will walk you through the various methods and provide troubleshooting tips to ensure a seamless connection.
Preparing for Connection
Before connecting your laptop to a projector, ensure compatibility and gather the necessary accessories. Depending on your setup, you may need an HDMI cable, USB cable, or a wireless adapter. Verify that your projector supports the connection type you plan to use.
Step-by-Step Guide on How to Connect Laptop to Projector
How to Connect Laptop to Projector with HDMI?
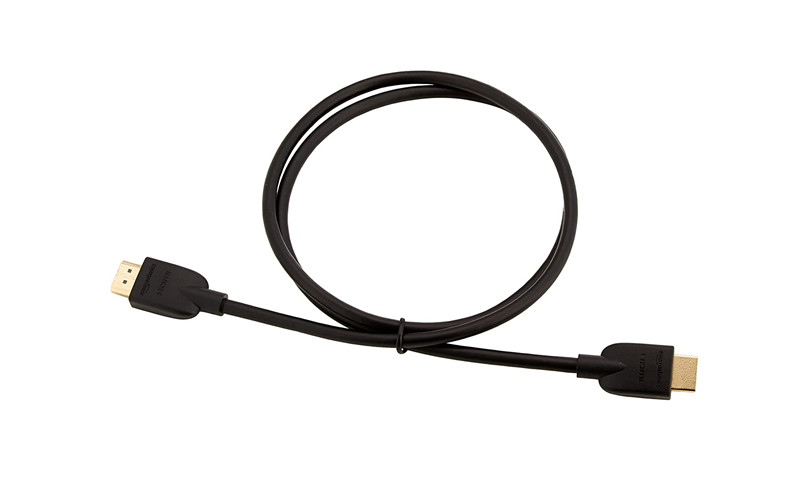
- Connect the HDMI Cable: Plug one end of the HDMI cable into your laptop and the other into the projector.
- Select the HDMI Source on the Projector: Use the projector’s remote to select the HDMI input.
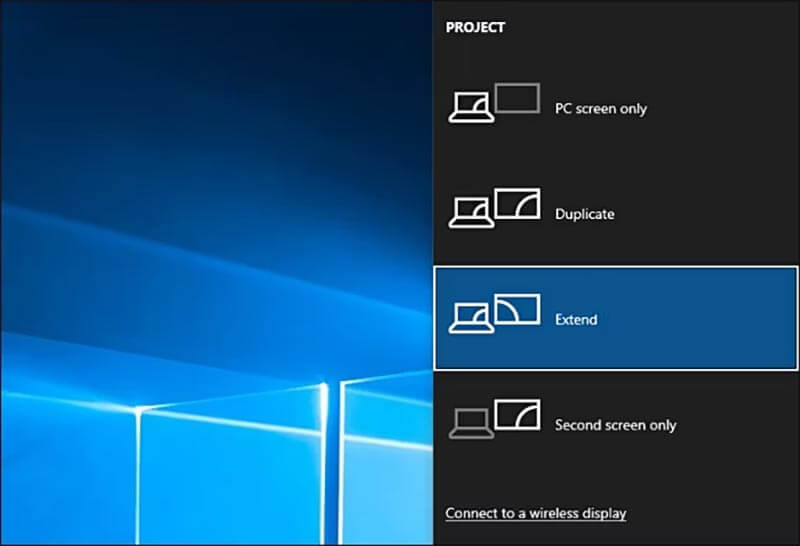
- Adjust Laptop Settings: On your laptop, press Windows + P and select the display mode (Duplicate, Extend, or Second screen only).
- Troubleshooting: If there’s no signal, check the cable connection, ensure the correct input is selected, and update your laptop’s graphics drivers.
How to Connect Laptop to Projector with USB?
- Connect the USB Cable: Plug the USB cable into your laptop and the projector.
- Install Necessary Drivers: Your laptop might need to install drivers to recognize the projector.
- Adjust Display Settings: Go to display settings on your laptop and configure the display.
How to Connect Laptop to Projector Wirelessly?

- Wireless Adapter: Connect a wireless display adapter to the projector’s HDMI port.
- Enable Wireless Display on Laptop: On your laptop, go to Settings > Devices > Bluetooth & other devices > Add Bluetooth or other device and select Wireless display or dock.
- Select Projector: Choose your projector from the list of available devices.
Display Settings and Modes
Windows 10 and Windows 11
- Adjust Display Settings: Go to Settings > System > Display.
- Shortcut Keys: Use Windows + P to quickly switch between display modes: Duplicate, Extend, or Second screen only.
- Projector Mode: For specific projector modes, consult your projector’s manual.
Common Issues and Troubleshooting

Laptop Not Showing Up on Projector
- Check Connections: Ensure all cables are securely connected.
- Correct Input Source: Make sure the projector is set to the correct input source.
- Restart Devices: Restart both the laptop and the projector.
HDMI Connection Problems
- Cable Quality: Use a high-quality HDMI cable.
- Update Drivers: Ensure your laptop’s graphics drivers are up to date.
- Resolution Settings: Adjust the resolution settings on your laptop to match the projector.
Projector Display Issues
- Resolution and Aspect Ratio: Adjust these settings in your laptop’s display settings.
- Refresh Rate: Ensure the refresh rate is compatible with the projector.
Advanced Tips
Connecting to Older Projectors
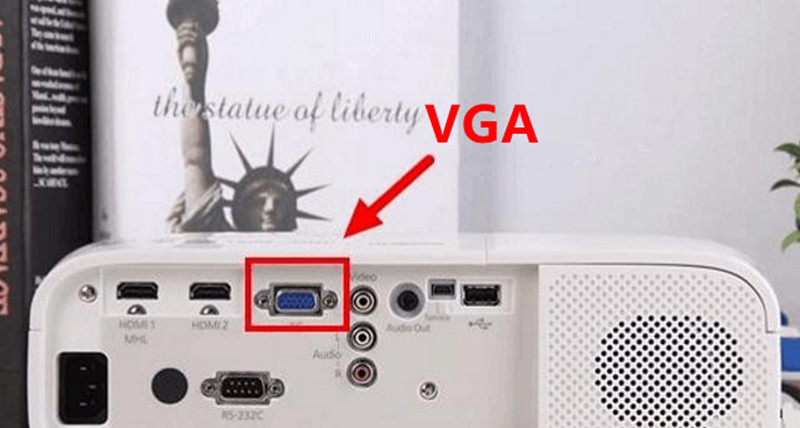
VGA Connection: Use a VGA cable for older projectors, along with a VGA-to-HDMI adapter if necessary.
Connecting Multiple Devices
Switching Inputs: Learn how to switch inputs on your projector to accommodate multiple devices.
Using a Phone with a Projector
Mobile Connections: Use a compatible adapter or wireless method to connect your phone to the projector.
Common Questions About How to Connect Laptop to Projector
For more detailed instructions on specific operating systems and connection methods, check out our related guides:
How to Connect Laptop to Projector Windows 10?
1. Check Compatibility: Ensure your laptop and projector support the connection method (HDMI, USB, or wireless).
2. Using HDMI:
- Connect HDMI Cable: Plug one end into the laptop and the other into the projector.
- Select HDMI Input: Use the projector’s remote to select HDMI input.
- Adjust Display Settings: Press Windows + P and choose Duplicate, Extend, or Second screen only.
3. Using USB:
- Connect USB Cable: Plug into both devices.
- Install Drivers: Allow automatic installation or download from the projector’s website.
- Configure Display: Go to Settings > System > Display.
4. Wireless Connection:
- Wireless Adapter: Connect to the projector.
- Enable Wireless Display: Go to Settings > Devices > Bluetooth & other devices > Add Bluetooth or other device > Wireless display or dock.
- Select Projector: Choose from the list and follow instructions.
5. Troubleshooting:
- No Signal: Check connections and input source.
- Display Issues: Adjust resolution in Settings > System > Display.
How to Connect Laptop to Projector with HDMI Windows 11?
1. Check Compatibility: Ensure both devices have HDMI ports.
2. Connect HDMI Cable:
Plug one end into the laptop and the other into the projector.
3. Select HDMI Input on Projector: Use remote or buttons to select HDMI.
4. Configure Display Settings:
- Open Settings: Start menu > Settings > System > Display.
- Adjust Multiple Displays: Detect the projector and choose Duplicate, Extend, or Second screen only.
5. Shortcut Keys: Press Windows + P and select the display mode.
6. Troubleshooting:
- No Signal: Ensure secure connection and correct input.
- Resolution Issues: Adjust in Settings > System > Display > Advanced display settings.
Conclusion

Connecting your laptop to a projector is straightforward with the right tools and knowledge. Whether using HDMI, USB, or wireless methods, this guide covers all the essentials. Regularly updating your system and checking connections ensures a hassle-free experience. Experiment with different setups to find what works best for you.