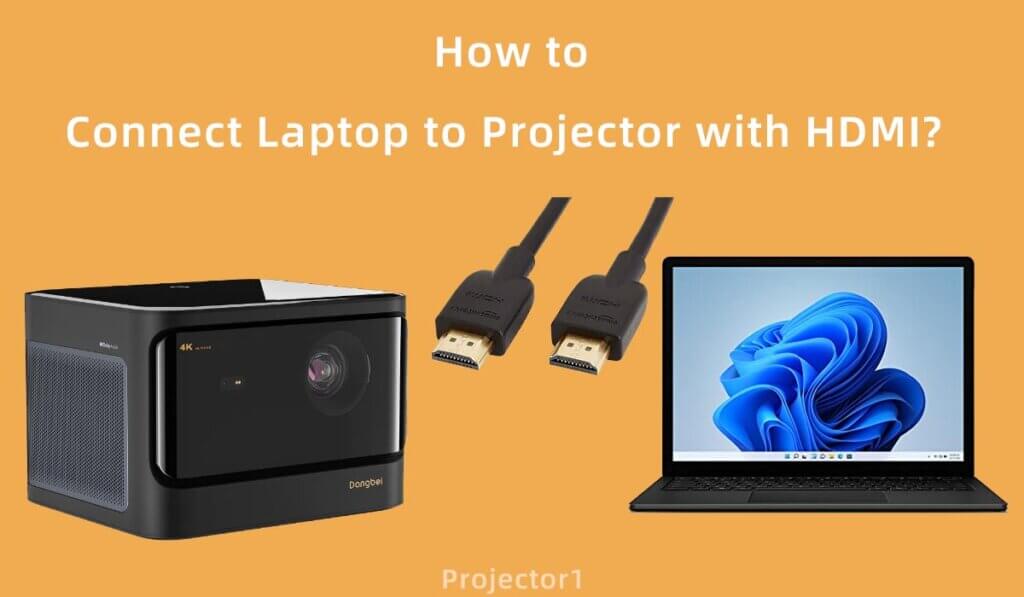
Connecting your laptop to a projector is a simple yet essential skill, whether you’re preparing a business presentation, enjoying a movie night with friends, or engaging in a classroom setting. One of the most popular and straightforward ways to connect your laptop to a projector is using an HDMI cable. In this guide, we’ll walk you through the process of connecting your laptop to a projector using HDMI, step by step. Whether you’re a tech novice or a seasoned pro, this guide will help ensure a smooth connection and an excellent viewing experience.
Step 1: Gather Your Equipment
Before you start, make sure you have all the necessary equipment:
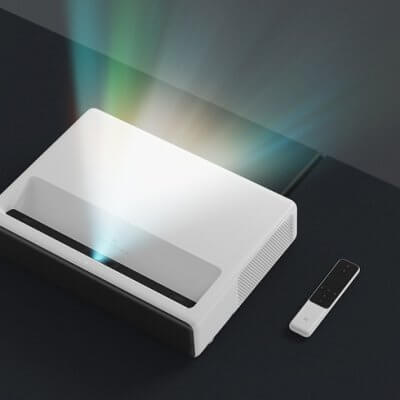
- A laptop with an HDMI port
- A projector with an HDMI port
- An HDMI cable (make sure it’s long enough to reach from your laptop to the projector)
- A power source for both your laptop and the projector
Step 2: Power Everything On
Plug your laptop and the projector into power sources and turn them on. It’s essential to have both devices powered up and running before attempting the connection.
Step 3: Connect the HDMI Cable
- Locate the HDMI port on your laptop. It’s usually on the sides or back of your laptop. Most laptops have a standard HDMI port, while some newer models may have a mini-HDMI or micro-HDMI port.
- Connect one end of the HDMI cable to your laptop’s HDMI port. Ensure a snug fit.
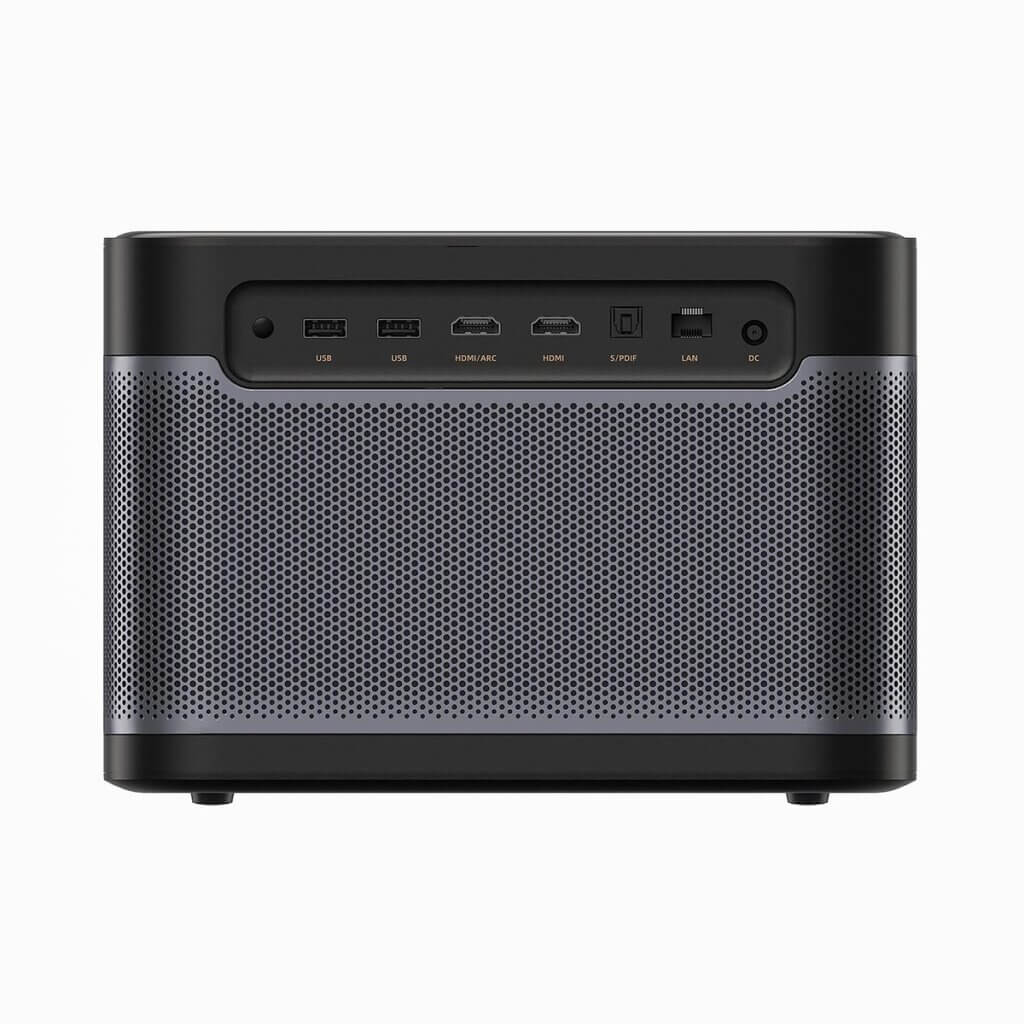
- Locate the HDMI port on the projector. It should be clearly labeled. If your projector has multiple HDMI ports, take note of which one you use.
- Connect the other end of the HDMI cable to the projector’s HDMI port. Again, ensure a secure connection.
Step 4: Configure Display Settings
Now that you’ve physically connected your laptop to the projector, you need to configure your display settings to ensure they work together seamlessly.
- On Windows:
- Right-click on the desktop and select “Display settings.”
- Scroll down and find the “Multiple displays” section. Click the dropdown menu and select “Duplicate” or “Extend,” depending on your preference.
- Click “Apply” to save your settings.
- On Mac:
- Go to the Apple menu and select “System Preferences.”
- Click on “Displays.”
- In the “Arrangement” tab, you can choose between mirroring (duplicate) or extending your display.
Step 5: Test Your Connection
To ensure everything is working correctly, play a video or open a document on your laptop. You should see it displayed on the projector screen. If not, double-check your connections and display settings.
Conclusion:
Connecting your laptop to a projector with HDMI is a straightforward process that can greatly enhance your presentations, movie nights, or classroom experiences. By following these steps, you can ensure a successful and trouble-free connection. Remember to gather the necessary equipment, power on your devices, make secure connections, configure your display settings, and test your setup. With these simple steps, you’ll be ready to enjoy your content on the big screen hassle-free.
Related Reading: