As a budget video projector, CLOKOWE projectors are one of the best-selling projectors on Amazon. In this guide, we take CLOKOWE M8 as an example and share how to use the CLOKOWE projector.
How to Use CLOKOWE Projector?
CLOKOWE Projector Setup
1. Remove the lens cover.
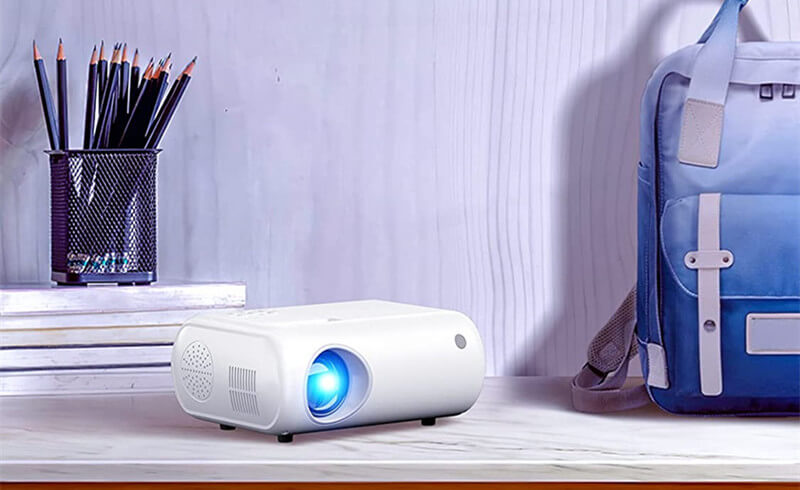
2. Place the projector on a surface.
3. Connect the CLOKOWE M8 projector to the power supply.
4. Press the power button on the projector to start the projector.
5. Point the projector to the wall/screen.
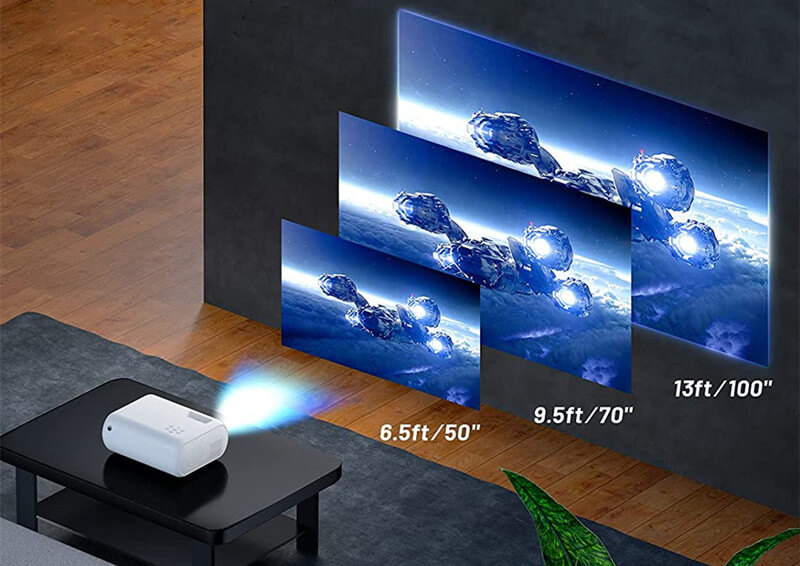
6. Adjust the distance (Effective range: 3.5 to 13 feet) and projection angles to make the image rectangular. You can use the projector calculator to get accurate throw distance and corresponding image size.
7. Roll the focusing ring until the image gets clear.
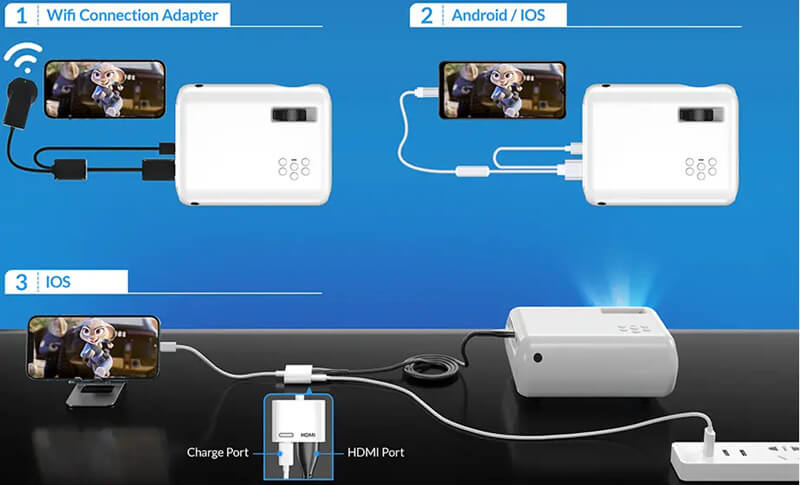
8. Connect the projector to external devices via the ports at the back panels. For example, you can connect it to an iPhone via Lightning to Digital AV Adapter according to the illustration below.
9. Select the signal source as the input source of the projector. For example, select HDMI as the input source when you connect it to a TV stick via HDMI.
10. Then, the setup is done.
CLOKOWE Projector Usage Tips
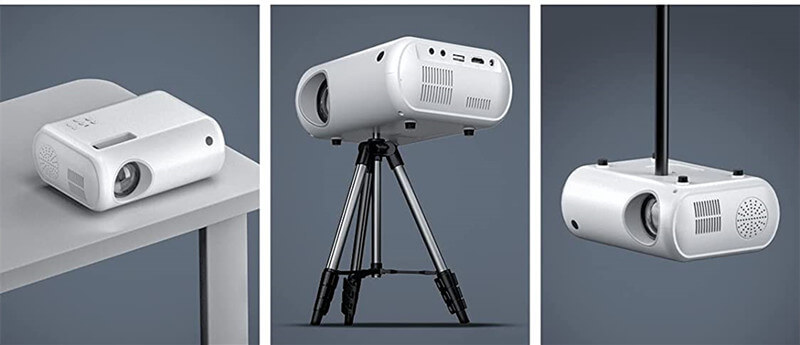
- The projector supports multiple projection modes, including Front, Rear, and Ceiling. You need to get a proper bracket beforehand for ceiling projection.
- Dolby Audio is not supported by the projector., and you need to turn off Dolby sound or select surround sound if there is no sound.
- Keep a dark environment to ensure a better viewing effect.
- Use the projector within effective throw distance.
- Power off the projector when you are not using the projector to avoid overheating.
Related Posts