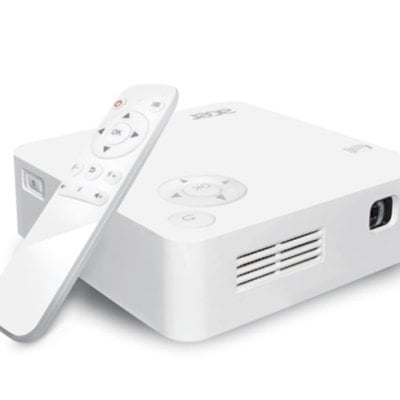
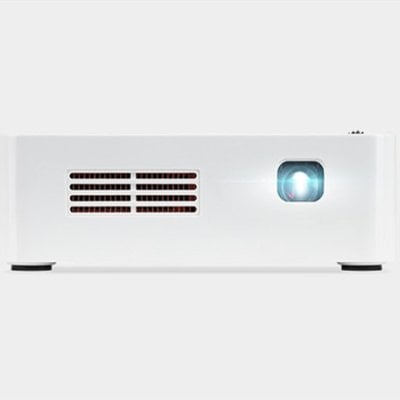
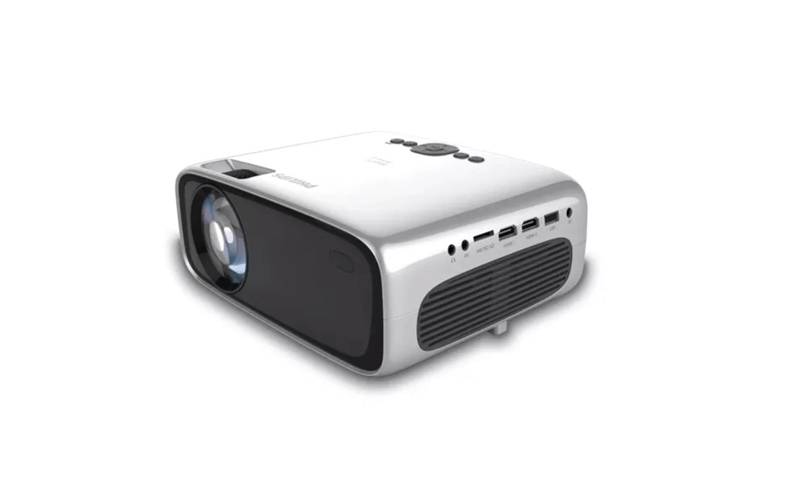
Philips NeoPix Prime 2 Projector is featured with Auto keystone correction,which enable auto keystone correction to automatically correct the image to be rectangular. Therefore, if you find the projected image is distorted, it is where keystone correction come into play.
- On the home screen, press up button once or more to display the shortcut options. Then select the settings icon on the upper right of the home screen and press OK to access the system settings.
- First go to Projection Image Setting – Gyro Horizon. Perform calibration to achieve optimal horizontal projection.
- Then go to Projection Image Setting – Auto Keystone – On. Initialize automatic correction of the projection.
Make sure to select Projection Image Setting – Keystone Advanced – Front to activate Auto Keystone option. In this case, you may correct the image through auto key stone correction.
Read more:
How to Set up Projection Mode fo Philips NeoPix Prime 2 Projector?
Philips NeoPix Prime 2 Projector Remote Pairing Guide
Digital Zooming Tip for Philips NeoPix Prime 2 Projector