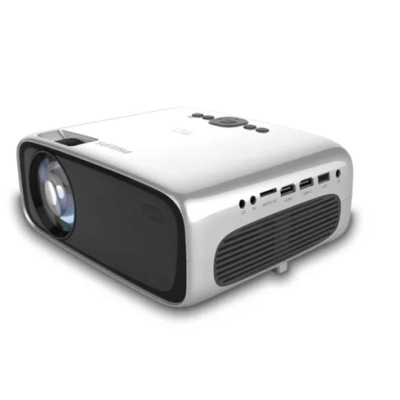
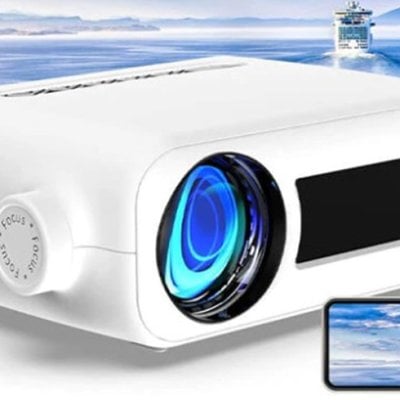
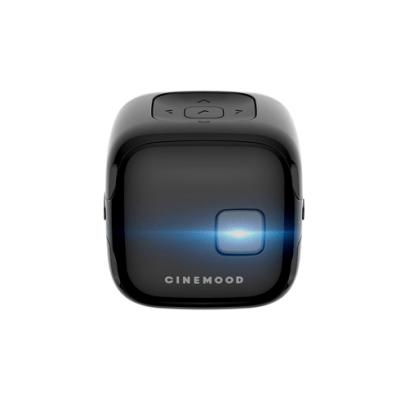
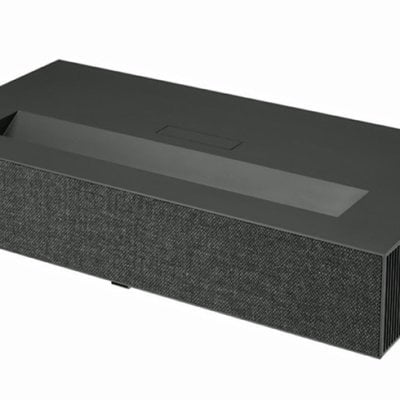
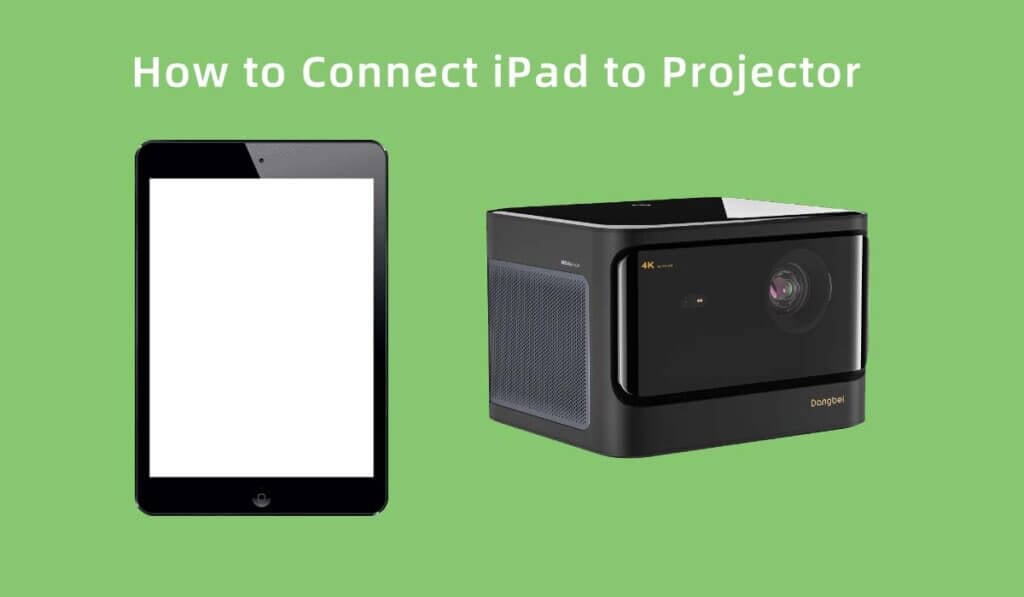
In today’s digital age, sharing content from your iPad on a larger screen, like a projector, has become increasingly common for presentations, movie nights, and more. Whether you’re a professional needing to give a presentation or simply want to enjoy your favorite shows and videos on a bigger display, here’s a step-by-step guide on how to connect your iPad to a projector.
Step 1: Gather Your Equipment
Before you start, make sure you have the necessary equipment:
- iPad: Ensure your iPad is charged and updated to the latest software version.
- Projector: Have your projector ready with all the required cables.
- Adapter: You’ll need an appropriate adapter to connect your iPad to the projector. The type of adapter depends on your iPad model. For newer iPads with USB-C ports, a USB-C to HDMI adapter will suffice. Older iPads with Lightning ports will require a Lightning to HDMI adapter.
- HDMI Cable: Ensure you have an HDMI cable of the appropriate length to connect from the adapter to the projector.
Step 2: Connect the Adapter and Cable
- Plug one end of the HDMI cable into the HDMI port on your adapter.
- Connect the other end of the HDMI cable to the HDMI input on your projector.
- Attach the adapter to your iPad. If you’re using a USB-C to HDMI adapter, plug it into the USB-C port on your iPad. For older iPads with Lightning ports, connect the Lightning end to your iPad.
Step 3: Turn On the Projector
Power on your projector and select the HDMI input source you connected your iPad to. The projector should detect the iPad’s signal automatically.
Step 4: iPad Screen Mirroring
- Unlock your iPad using your passcode or Face ID/Touch ID.
- A message may appear on your iPad asking if you want to allow the connected device to access it. Tap “Allow.”
- Your iPad’s screen should now be mirrored on the projector screen.
Step 5: Adjust Settings (if necessary)
Depending on your needs, you might want to adjust the screen orientation, resolution, or other settings. You can do this on your iPad by going to:
- Settings > Display & Brightness > Screen Mirroring (or similar, depending on your iPad model).
- Select your projector’s name to make any necessary adjustments.
Step 6: Start Sharing
You’re now ready to share your content. Open the app or content you want to display on the projector, and it will appear on the big screen. Whether it’s a presentation, a movie, or a slideshow, your iPad is now seamlessly connected to the projector.
Step 7: Ending the Connection
When you’re finished, simply disconnect the adapter from your iPad and power off the projector. Your iPad will revert to its normal display.
Conclusion
Connecting your iPad to a projector is a convenient way to share your content with a larger audience or enjoy a more immersive experience. With the right equipment and these simple steps, you can easily connect your iPad to a projector and make the most of your digital content on the big screen. Whether for work or play, this setup is sure to enhance your iPad experience.

