Projectors are a fantastic way to enjoy large-screen entertainment or deliver compelling presentations. However, over time, projector lenses can accumulate dust and smudges, impacting the image quality. In this guide, we will walk you through the steps to clean your projector lens effectively, ensuring your visuals remain sharp and vibrant.
Why Cleaning Your Projector Lens Is Essential
A clean projector lens is crucial for maintaining image clarity and brightness. Dust and smudges on the lens can obstruct the light path, leading to reduced image quality and potentially damaging your projector over time. Regular cleaning not only ensures better picture quality but also extends the lifespan of your device.
What You’ll Need
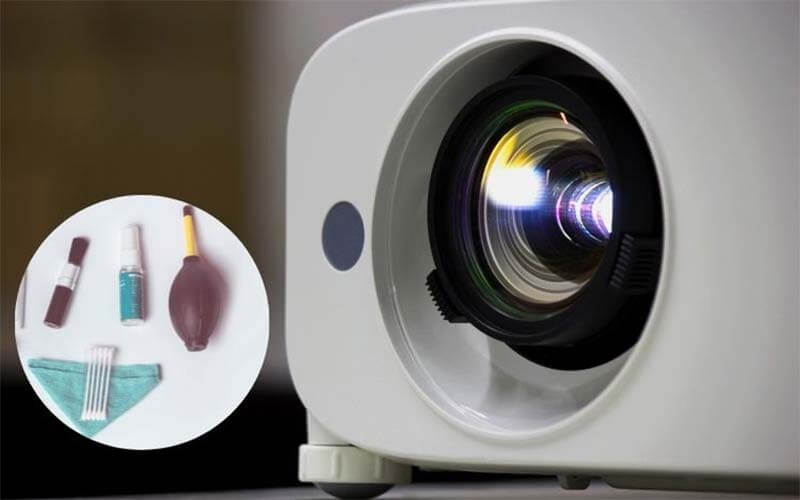
Before you begin, gather the following supplies:
- Microfiber Cloth: Opt for a lint-free, microfiber cloth. This material is gentle on the lens and won’t scratch the surface.
- Lens Cleaning Solution: You can purchase a lens cleaning solution or make your own by mixing distilled water and isopropyl alcohol in equal parts.
- Compressed Air: An air blower or compressed air can help remove loose dust particles from the lens.
Step-by-Step Cleaning Process
- Prepare Your Workspace: Start by turning off and unplugging your projector. Allow it to cool down completely before cleaning. Find a clean, well-lit area to work.
- Remove Loose Dust: Gently use a can of compressed air or an air blower to blow away loose dust and debris from the lens surface. Hold the projector vertically to prevent dust from settling back onto the lens.
- Dampen the Cloth: Moisten a corner of your microfiber cloth with the lens cleaning solution. Be cautious not to oversaturate the cloth, as excess liquid can seep into the projector and damage its internal components.
- Clean the Lens: Gently wipe the lens in a circular motion, starting from the center and moving outward. Avoid pressing too hard to prevent scratching. If stubborn smudges persist, dampen the cloth slightly more and repeat the process.
- Dry the Lens: Using a dry section of the microfiber cloth, carefully dry the lens. Ensure there are no streaks or moisture left behind.
- Inspect the Lens: Turn on your projector and display a white image on the screen. Inspect the image for any remaining dust specks or smudges. If necessary, repeat the cleaning process.
- Reassemble Your Projector: Once you are satisfied with the cleanliness of the lens, reassemble any parts you may have removed during the process.
- Regular Maintenance: To prevent future build-up, store your projector in a clean, dust-free environment when not in use. Consider using a lens cap or cover to protect the lens.
Conclusion
Cleaning your projector lens is a simple yet vital maintenance task that ensures your projector continues to deliver stunning visuals. By following these steps and taking regular precautions to keep your projector dust-free, you can enjoy crisp, vibrant images for years to come.
Remember to perform this cleaning routine periodically, especially if you use your projector frequently or in dusty environments. A clean lens not only enhances image quality but also prolongs the life of your projector, making it a valuable investment in the long run.
Related Reading: