In today’s digital age, connecting your MacBook to a projector is a common necessity, whether it’s for work presentations, watching movies, or sharing content with a larger audience. The process might seem daunting at first, but fear not – we’ve prepared a step-by-step guide to help you connect your MacBook to a projector seamlessly.
Step 1: Gather Your Equipment
Before you start, ensure you have the necessary equipment:
- MacBook: Make sure your MacBook is charged or connected to a power source.
- Projector: Check that the projector is set up correctly and functioning.
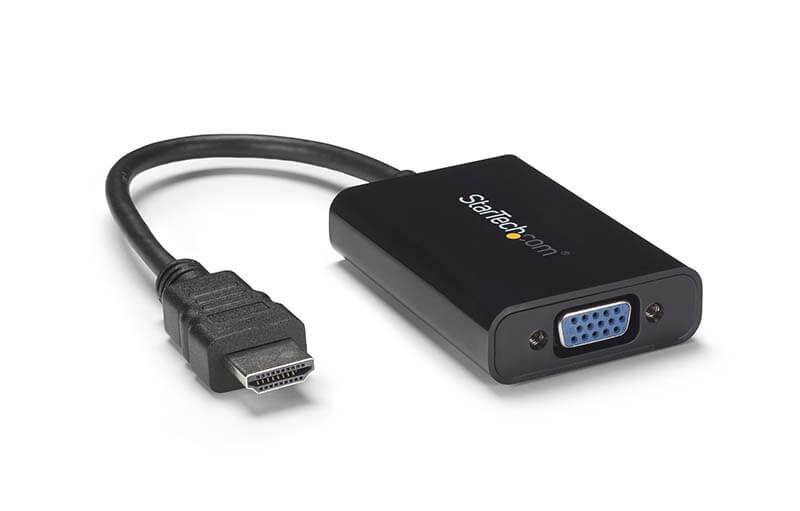
- Video Adapter: Depending on your MacBook model, you might need a video adapter. Most MacBooks use USB-C, so a USB-C to HDMI or VGA adapter is common.
Step 2: Connect the Video Adapter
- If required, plug your video adapter into the appropriate port on your MacBook. USB-C to HDMI or USB-C to VGA adapters are typical choices.
- Connect the other end of the adapter (HDMI or VGA) to the projector’s corresponding port. Ensure a secure connection.
Step 3: Turn on the Projector
- Power on the projector and allow it to warm up if needed. Projectors may take a minute or two to start and stabilize.
Step 4: Configure MacBook Display Settings
- On your MacBook, click the Apple logo in the top left corner and go to “System Preferences.”
- Select “Displays.”
- In the Displays preferences window, click the “Arrangement” tab.
- Check the box that says “Mirror Displays.” This option duplicates your MacBook screen on the projector.

Step 5: Adjust Resolution (if necessary)
- If the projector displays a distorted or low-quality image, go to “Displays” in System Preferences.
- Under the “Display” tab, you can adjust the resolution. Choose the resolution that works best with your projector.
Step 6: Play Your Content
- Once connected and configured, your MacBook screen should appear on the projector. Open the content you want to display, whether it’s a presentation, movie, or document.
- Control your MacBook as you normally would. The actions will be mirrored on the projector screen.
Step 7: Disconnecting
- When you’re finished, eject your MacBook from the projector by disconnecting the video adapter.
- If you used an HDMI adapter, you can simply unplug it. For USB-C adapters, disconnect them while pressing the release button if applicable.
- Power off the projector.
Step 8: MacBook Display Settings (Optional)
- After disconnecting from the projector, you might want to revert to your MacBook’s original display settings. Go back to “System Preferences” > “Displays” and uncheck “Mirror Displays.”
Conclusion
Connecting your MacBook to a projector is a straightforward process that enhances your ability to share content in various settings. By following these simple steps, you can seamlessly set up your MacBook with a projector and enjoy a larger display for work or entertainment purposes.
Remember to consult your MacBook’s user manual or the projector’s documentation if you encounter specific compatibility issues. Additionally, adaptors and MacBook models may vary, so ensure you have the correct video adapter for your setup. With these instructions, you’ll be ready to connect your MacBook to a projector with confidence.