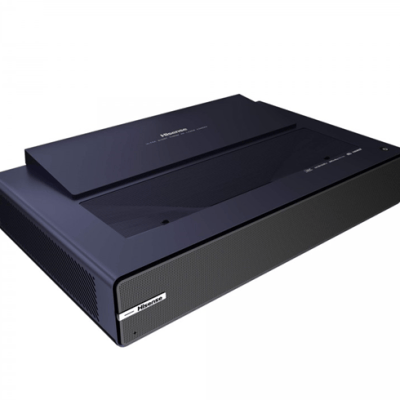
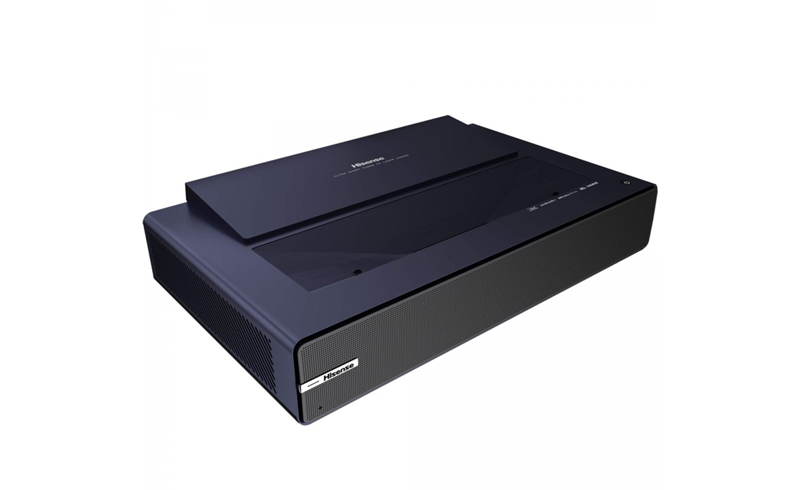
This tip will show you how to set up Auto Geometric Correction on this Hisense PX1 projector.
The Laser TV will fit the projected image into the screen automatically. Before you use automatically geometric correction function, ensure that the Laser TV and your mobile device are connected to the same Wi-Fi network.
Set up Auto Geometric Correction on Hisense PX1
Home menu > Screen > Auto Geometric Correction
- Position the Laser TV and use the leveling feet as needed to fit the entire display border within the screen area.
- Select Next to continue.
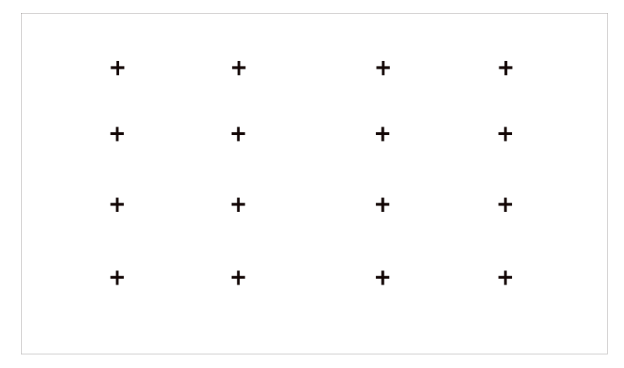
- Scan the QR Code with your mobile device to begin automatic geometric correction. When the app loads, the Laser TV will display an alignment grid.
- Click “+” on your mobile device to take a photo of the entire screen and image. For best results, stand about 10 feet away from the screen and use landscape mode.
- Click “upload” on your mobile device to complete the automatic geometric correction.
Read more:
Hisense PX1 Gaming Tip – Instant Game Response Settings
How to Reset Picture Settings of Hisense PX1?