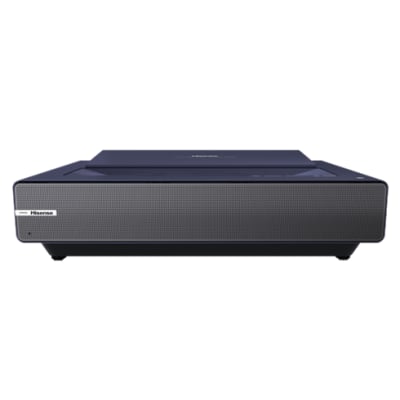
This tip will show you how to set up Geometric Correction manually on this Hisense PX1 projector.
The Laser TV will fit the projected image into the screen automatically. Before you use automatically geometric correction function, ensure that the Laser TV and your mobile device are connected to the same Wi-Fi network. Also you can maually operate the geometric correction yourself, see the steps belwo.
Set up Auto Geometric Correction on Hisense PX1
Home menu > Screen > Geometric Correction
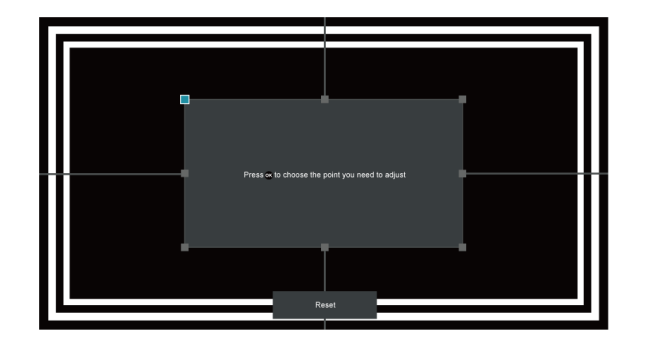
- Press left / right /up / down buttons on your remote to move focus, and press button to choose a point you need to adjust.
- Long press left / right /up / down buttons: quick adjustment of the projected image; Short press left / right /up / down buttons: precise adjustment of the projected image.
- Press button to save your adjustment, and you can select other points to adjust the image. If you want to return the image position to the factory default, select Reset button on the screen.
Read more:
Hisense PX1 Gaming Tip – Instant Game Response Settings
How to Reset Picture Settings of Hisense PX1?