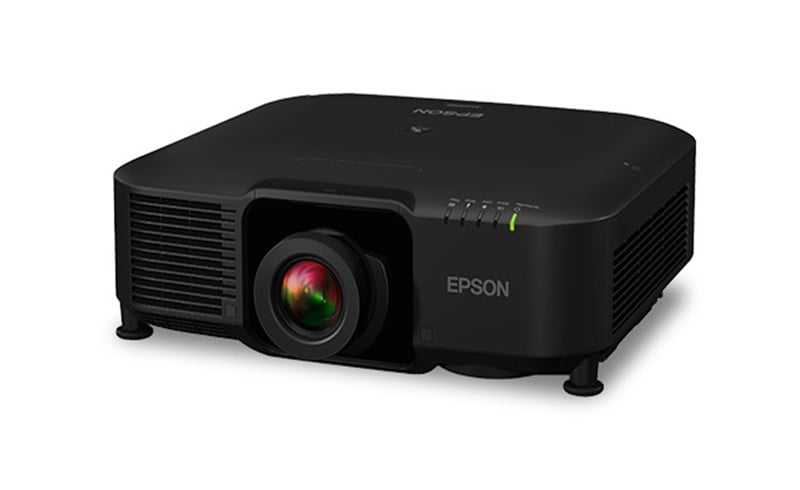
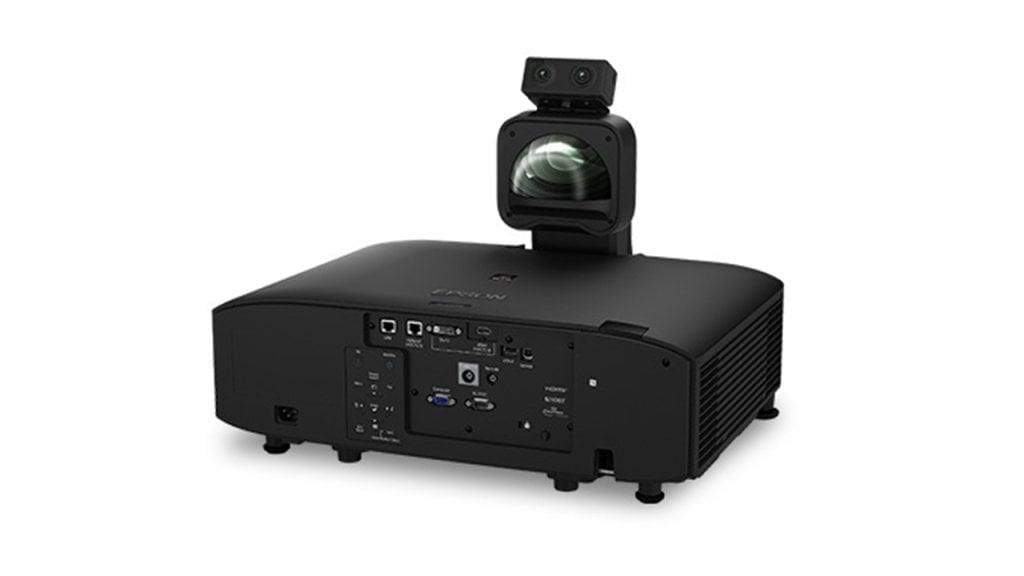
You can register the digital certificates for files on a USB device connected to the Epson EB-PU1008W projector.

Registering Digital Certificates from a USB Device
- Make sure your digital certificate file is compatible with projector registration.
- Connect the USB device to the projector.
- Press the USB button on the projector remote control. The PC Free screen appears.
- Do the following as necessary to locate your files:
- To display files inside a subfolder on your device, press the arrow buttons to highlight the folder and press the
 Enter button.
 - To move back up a folder level on your device, highlight Back to Top and press
 Enter.
 - To view additional files in a folder, highlight Next page or Previous page and press
 Enter.
- To display files inside a subfolder on your device, press the arrow buttons to highlight the folder and press the
- Press the arrow buttons to select one of the following certificate files:
- To register a Client Certificate or a Web Server Certificate, select the certificate file icon, press
 Enter, select Client Certificate or Web Server Certificate from the displayed menu, and press
  Enter again.
- To register a CA Certificate, select the CA certificate file icon and press
 Enter.
The password screen is displayed (for Client or Web Server Certificates) or the certificate contents is displayed (for CA Certificates).
- To register a Client Certificate or a Web Server Certificate, select the certificate file icon, press
- If you see the password screen, enter the certificate password using the keyboard that appears. The certificate contents is displayed.
- Check the content of the certificate to make sure it is correct.
- When you finish checking the certificate, press the arrow buttons to select OK and press
 Enter. You see a registration completion message.

Read more:
Epson EB-PU1008W 3LCD Laser Projector Review
Epson EB-PU1008W Projector Placement Tip-Prevent Overheating


