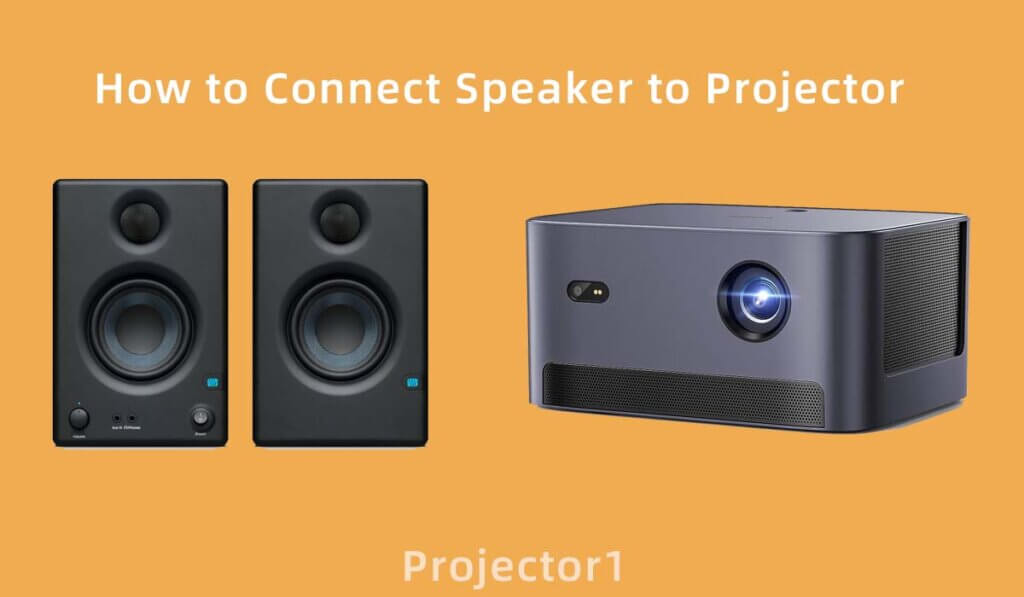
When it comes to creating a captivating home theater experience or delivering impactful presentations, having great visuals is only half the equation. High-quality sound is equally crucial, and connecting speakers to your projector can make all the difference. In this step-by-step guide, we’ll walk you through the process of connecting speakers to your projector effortlessly.
Step 1: Gather Your Equipment
Before diving into the setup, make sure you have all the necessary equipment at hand. You’ll need:
- A projector
- External speakers (these can be a soundbar, home theater system, or standalone speakers)
- An audio source (such as a laptop, DVD player, or streaming device)
- HDMI or other compatible audio/video cables
- Power cables for both the projector and speakers
- An available power outlet or surge protector
Step 2: Choose the Right Audio Output
Most projectors come with various audio output options, such as HDMI, 3.5mm audio jack, or Bluetooth. Review your projector’s user manual to identify the available audio output ports.
Step 3: Connect the Audio Source to the Projector
Connect one end of your chosen audio cable to the audio output of your source device (e.g., laptop) and the other end to the corresponding audio input on your projector. If you’re using HDMI, this step is often unnecessary, as HDMI carries both audio and video signals.
Step 4: Set Up the External Speakers
Now, it’s time to set up your external speakers:
- Place the speakers in your desired location, ensuring they are within the cable’s reach.
- Connect the speakers to a power source using the provided power cables.
- If your speakers have multiple connection options (e.g., HDMI, 3.5mm jack, or Bluetooth), choose the one that matches your projector’s audio output.
Step 5: Adjust Projector and Speaker Settings
Turn on both the projector and external speakers. Access the projector’s settings menu and navigate to the audio section. Here, you’ll likely find options to select the audio source. Choose the one you’ve connected.
Step 6: Test Your Setup
To ensure everything is working correctly, play some audio or video content on your source device. You should hear the sound coming from your external speakers.
Step 7: Fine-Tune the Audio
To achieve the best audio quality, you might need to adjust the volume levels on both your projector and external speakers. Experiment to find the right balance that suits your preferences.
Step 8: Enjoy Your Enhanced Audio-Visual Experience
With your speakers successfully connected to your projector, you’re all set to enjoy a more immersive and impactful audio-visual experience, whether you’re watching movies, gaming, or giving presentations.
In conclusion, connecting speakers to your projector is a straightforward process that significantly enhances your multimedia experience. By following these steps, you can enjoy crystal-clear sound that complements your stunning visuals. So, go ahead and elevate your home theater or presentation setup with fantastic audio quality.