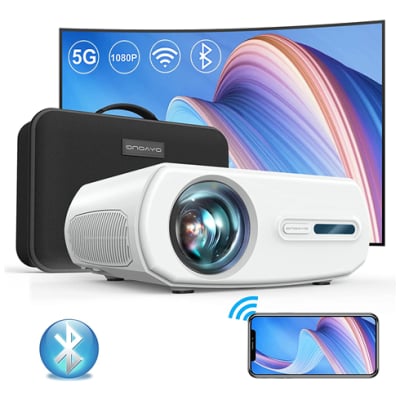
Projectors have become an integral part of our audio-visual experiences, whether in the classroom, boardroom, or home theater. As we delve deeper into the world of projectors, one term that often surfaces is “keystone.” But what exactly is keystone on a projector, and why does it matter? Let’s unravel the mystery behind this crucial feature.
Understanding Keystone: Keystone, in the context of projectors, refers to the correction of distorted images caused by projecting onto a surface at an angle other than perpendicular. In simpler terms, it’s the adjustment made to ensure that the projected image appears proportional and undistorted, even when the projector is not perfectly aligned with the screen or surface.
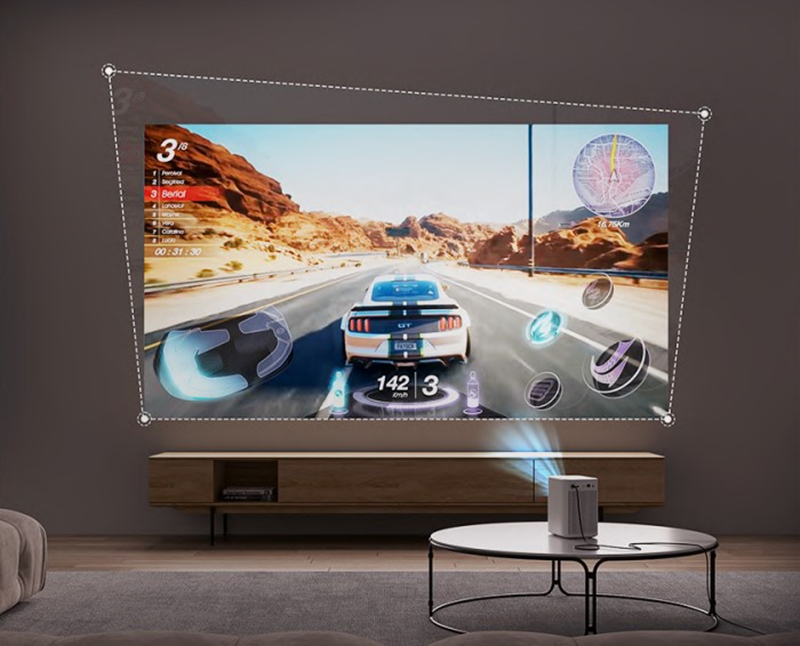
Importance of Keystone Correction: Imagine setting up your projector for a movie night, only to find that the image is skewed or trapezoidal. This is where keystone correction comes to the rescue. Keystone correction allows users to fine-tune the projected image, ensuring it remains true to its intended proportions and maintains a professional and polished appearance.
Types of Keystone Correction: There are generally two types of keystone correction – vertical and horizontal.
- Vertical Keystone Correction: This type corrects the distortion caused by tilting the projector up or down. It is particularly useful when the projector is placed on a table or mounted at an angle.
- Horizontal Keystone Correction: This correction addresses distortion resulting from side-to-side tilting of the projector. This is handy in situations where the projector cannot be placed directly in front of the screen.
Automatic vs. Manual Keystone Correction: Projectors come equipped with either automatic or manual keystone correction features. Automatic correction is more user-friendly, with the projector detecting and adjusting the keystone automatically. On the other hand, manual correction allows users to tweak the keystone settings manually until the desired image alignment is achieved.
Tips for Optimal Keystone Correction:
- Central Placement: Whenever possible, try to position the projector directly in front of the screen to minimize the need for keystone correction.
- Use the Right Tools: Take advantage of digital keystone correction features offered by modern projectors. This ensures a seamless adjustment without compromising image quality.
- Experiment and Adjust: If manual correction is required, don’t hesitate to experiment with the settings until you find the perfect balance. Most projectors provide on-screen guides to assist with this process.
In conclusion, understanding keystone on a projector is crucial for achieving a visually pleasing and distortion-free projection. Whether you’re a casual home theater enthusiast or a professional presenter, having a grasp of keystone correction empowers you to make the most of your projector setup. As technology continues to advance, projectors with sophisticated keystone correction features are becoming more accessible, providing users with an immersive and hassle-free visual experience.