Selecting Wired Network Settings Before you can use the projector on your network, you need to select network settings on the projector.
1. Press the [Menu] button, select the Network menu, and press [Enter].

2. Select Network Settings and press [Enter].
3. To identify the projector over the network, select Projector Name and enter a name up to 16 alphanumeric characters long.
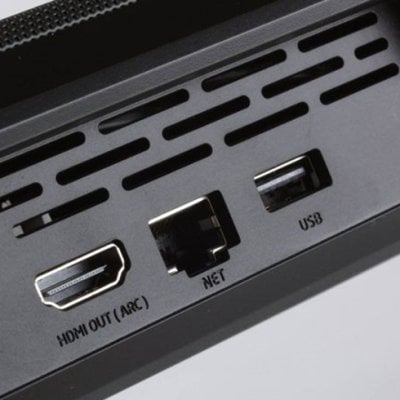
4. Select the Wired LAN menu and press [Enter].
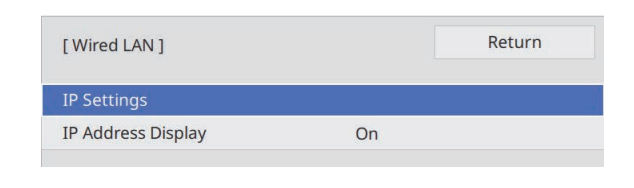
5. Assign the IP settings for your network as necessary.
• If your network assigns addresses automatically, select IP Settings to set the DHCP setting to On.
• If you must set addresses manually, select IP Settings to set the DHCP setting to Off, and then enter the projector’s IP Address, Subnet Mask, and Gateway Address as necessary.
7. To prevent the IP address from being displayed on the network information screen, set the IP Address Display setting to Off.
7. When you finish selecting settings, go back to the Network Settings screen, select Set, and follow the on-screen instructions to save your settings and exit the menus.
Read more:
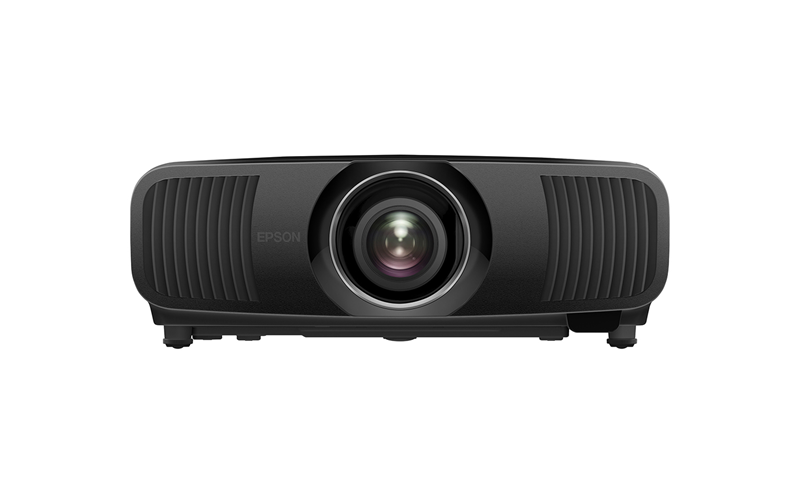
Epson CH-LS12000B Computer Connecting Guide