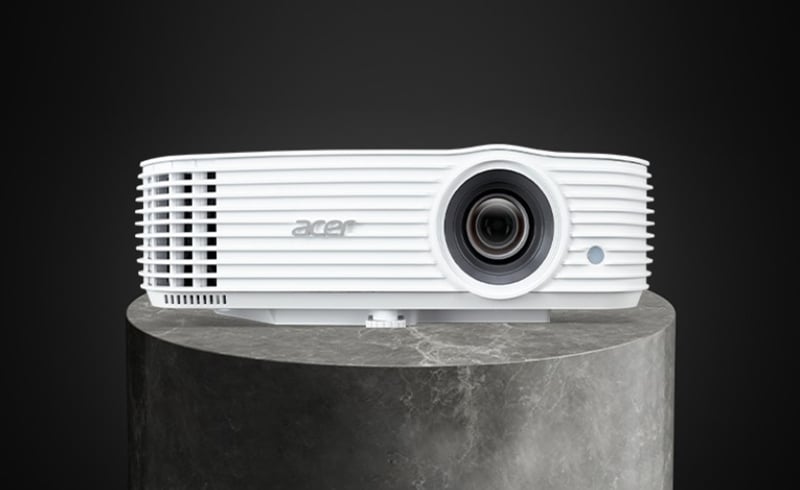
Acer Splash Downloader allows you to upload your desired picture onto an Acer projector. You can select the picture as the startup screen via the projector’s OSD menu.

Steps for Using the Acer Splash Downloader
1. Entering download mode Long press the POWER and MENU buttons on the control panel simultaneously while plugging in the power cord until the LED indicator lights up red.
2. Connecting the computer to the projector. Use an USB cable to connect the computer and the projector.
3. Executing the Acer Splash Downloader tool on the computer. Press “Logo Replace” to proceed.
4. Loading the image.
- First, select the native resolution for the projector by adjusting “PJ Native Resolution” and decide if you want the image to be displayed full screen or in its original aspect ratio.
- Press “LoadImage” and choose an image from your computer.
- If the image is loaded successfully, the tool status will display “Load Image successfully”.
- “Setting changed!! Please load image again.” will be displayed in the tool status when PJ Native Resolution or aspect ratio is adjusted after the image is loaded successfully.
- “Image size is over defined range” will be displayed in the tool status when the English image is too large, and “Load Image fail” will be displayed when the image format is not supported.
5. Downloading the image to the projector. Press “Download” to start downloading the image to the projector. Note: If “Unknown” is shown in the Manufacture or Device ID field, the projector is not in a status suitable for download. Go back to step 1 and try again.

After the image is downloaded successfully, the projector will automatically shut down (enter standby mode), and the Startup Screen function in the OSD menu will be set to “User”.
Read more:
Acer HE-4K15 Projector Wach 3D Movie Tips
How to Know Acer HE-4K15 Projector’s Left Lamp Hours?


