This guide demonstrates the method of the YOWHICK projector setup. YOWHICK is a multimedia video projector that comes without a smart system and content resources.
YOWHICK Projector Setup
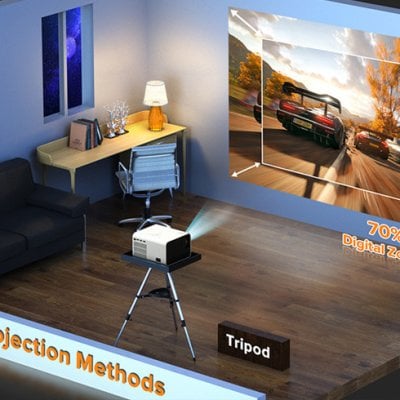
Firstly, place the projector on a level place, for example, a table or a tripod. This projector supports front and ceiling installments. If you want to fix it on the ceiling, you need a ceiling mount kit.
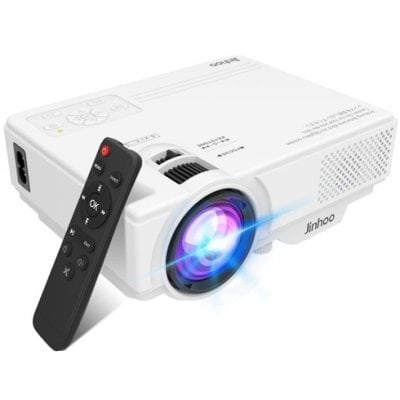
Connect the projector to a power supply.
Hang up a screen in front of the projector.
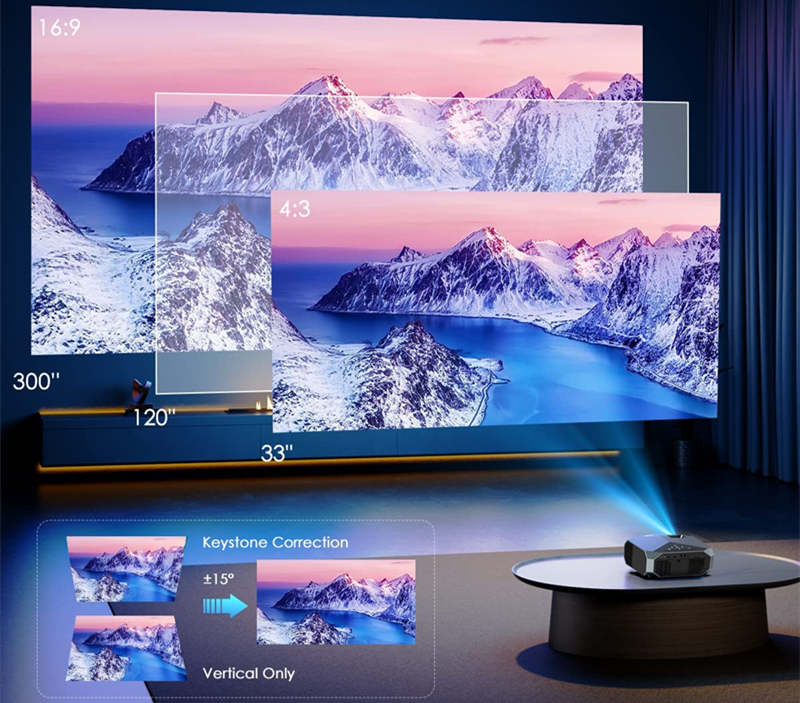
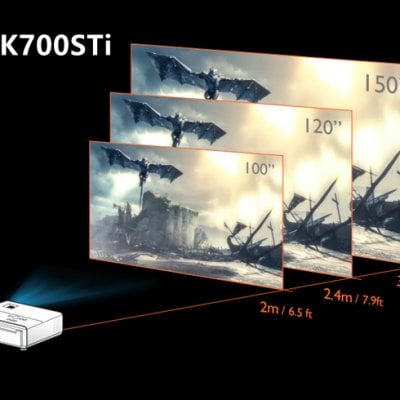
Adjust the distance between the YOWHICK projector and the screen. If you have no screen, then you can just throw the image on a neat white wall. The longer the throw distance, the bigger the image.
Roll the focus knob to make the image clear. Adjust the keystone if it is not rectangular.
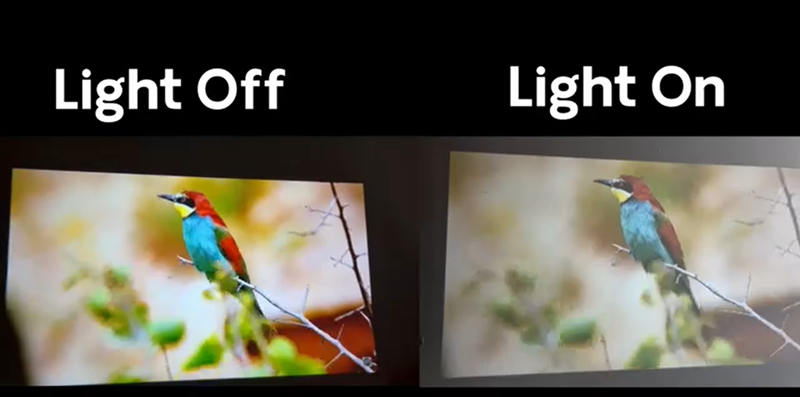
Turn off the lights if the ambient light is too strong. A dark environment can improve the viewing effect. You can see the viewing effect under different lightning.
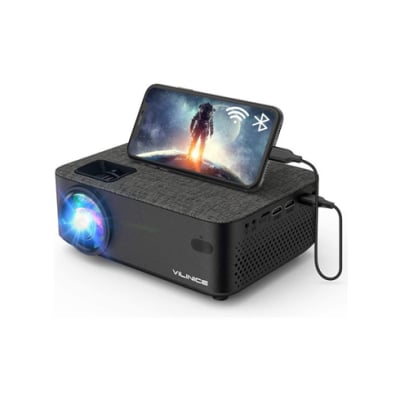
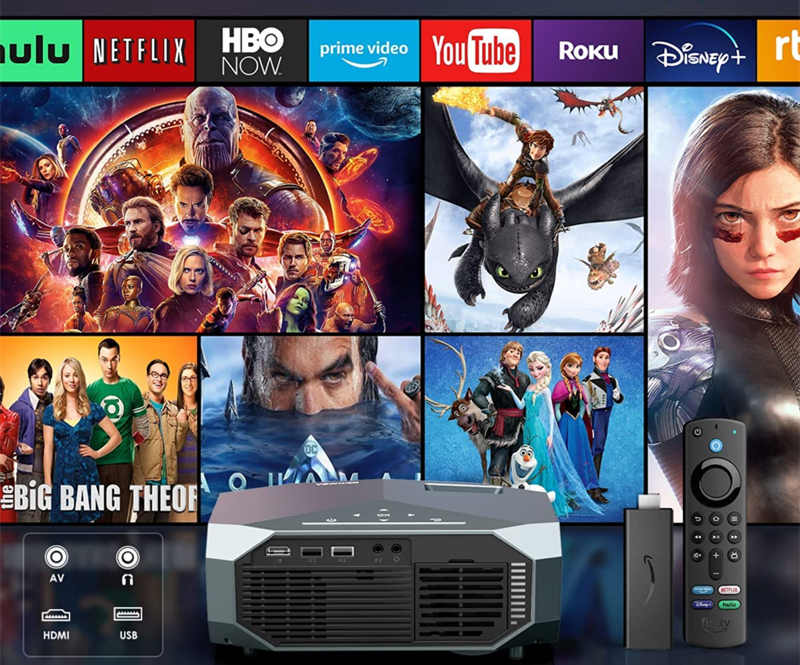
When the image gets clear and proper, connect the projector to external streaming devices or smartphones to access the content.
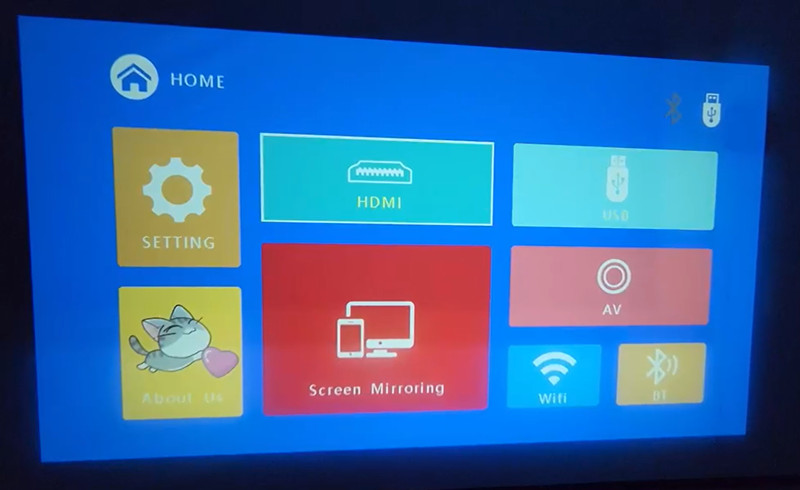
Select the correct signal as the input source. For example, if you connect the projector to a TV stick via an HDMI port, then you need to choose HDMI as the input source.
Troubleshooting Tips
No Signal: check the signal source or input source; make sure that the HDMI cable is normal; restart the projector to avoid sleep mode.
Blurry Image: adjust the focus; adjust the image size and the size should be within 300 inches; check the lens.
No sound: Check the volume; check the sound output; Turn off the Dolby sound when streaming content from Netflix and other similar apps; switch sound output mode.
Related Posts