As an UST laser projector, VAVA 4K allows users to quickly set up without hassle. For users who get their first VAVA 4K, they only need to take four steps to get the projector ready.
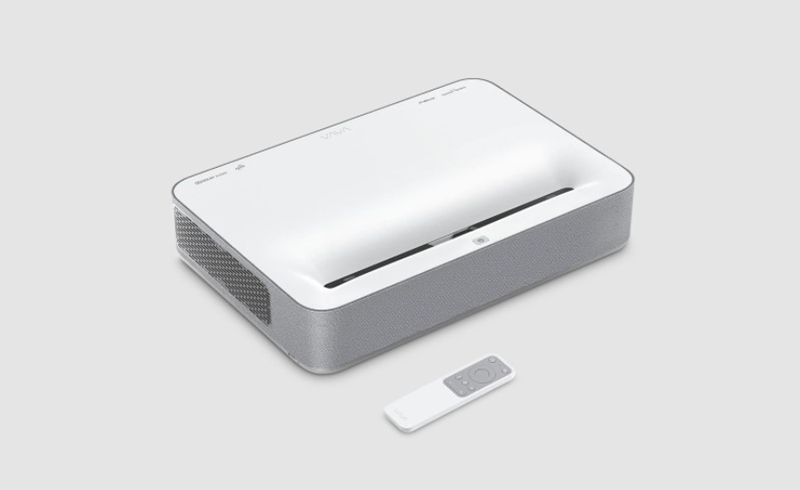
Firstly, you place the projector on the desk, move to the appropriate distance for the desired image size when keeping the device in parallel with the wall.
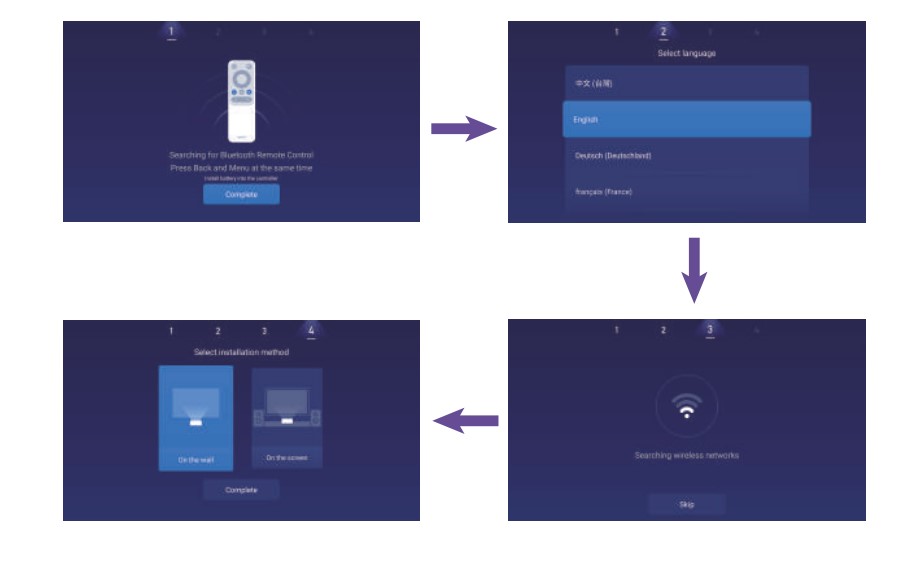
Connect the projector to power, press the Power Button on the device or remote to turn it on. Follow the instructions to go through the wizard, including the following operations:
1) Pair with remote control
To search for the Bluetooth remote control and get paired, you should press the Back and Menu button at the same time.
2) Choose a language
Choose the language you want as the system language of VAVA 4K projector.
3) Network settings
Select the Wi-Fi username of your place then enter password.
4) Select the installation method
There are two installation methods for you to choose: one is to project on the wall, another is to project on the screen.
VAVA 4K present users very concise and clear setup guide interface, following the instruction, you could easily set up the projector and enjoy an excellent viewing experience at any time.
Related post:
Do I Need a Screen to Go with VAVA 4K Projector?
VAVA ALR Screen VA-LTS005 Complete Setup Guide