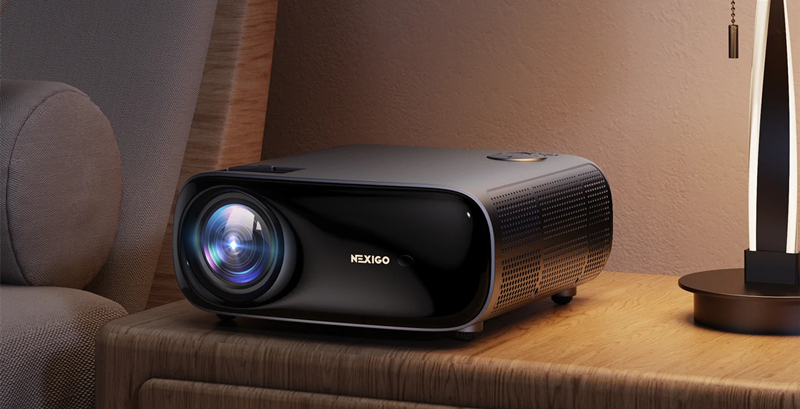
This guide will introduce the NexiGo PJ40 projector setup method, helping you to use the projector in an effective way.
NexiGo PJ40 Projector Setup
Location
The size and layout of your room will be the most important factors when choosing where to place the projector. NexiGo PJ40 supports four layouts.
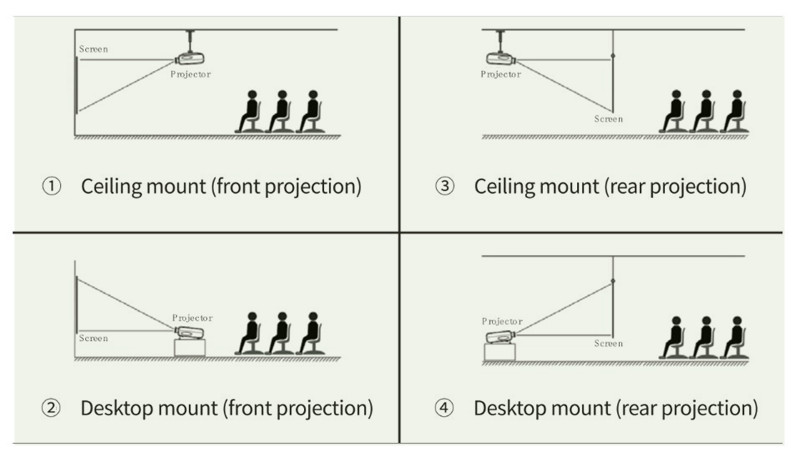
You can either hang the projector from the ceiling via a mounting bracket (not included) or simply place it on a flat, stable surface. You may need to change the projection mode so the images display correctly by following the path: Select Projection Mode under Settings > Projection > Projector Mode.
A dedicated rear screen is needed if you choose rear projection.
Wiring and Power On
1. Plug the power cord into a power outlet.
2. Press and hold the Power Switch to turn on the projector. Press the Power Switch to turn off the projector. Alternatively, press the Power Switch on the remote to turn the projector on or off.
Image adjustment
Please use the Focus Adjustment Wheel to adjust the focus, rotating it left or right until the image becomes clear. If the image appears blurry, rotate the knob in the opposite direction until the image gets clear.
If the image is not rectangular, you can use a keystone knob to make it rectangular.
External Device Connection
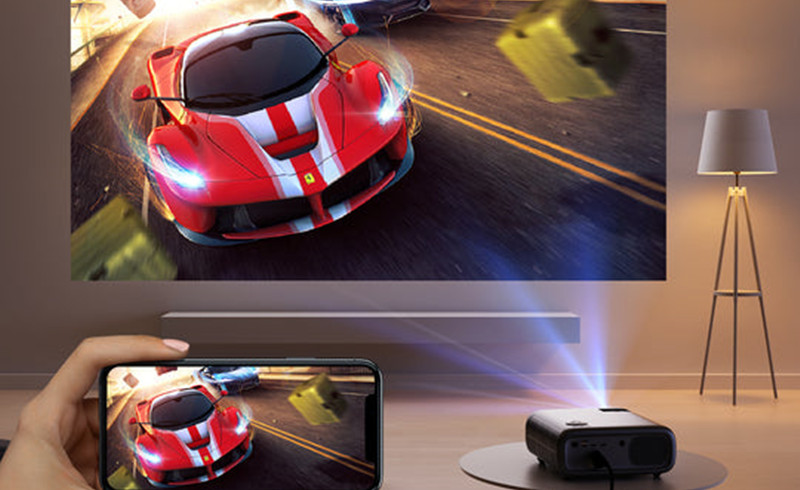
The projector should be connected to an external device to get more resources. You can use an HDMI port to connect it to a laptop, smartphone, TV stick, or Xbox.
Related Posts