Follow the instructions in this writing you will know how to attach a compatible lens. Make sure you turn off the projector and unplug the power cord before attaching or removing a lens. Otherwise, you may receive an electric shock.
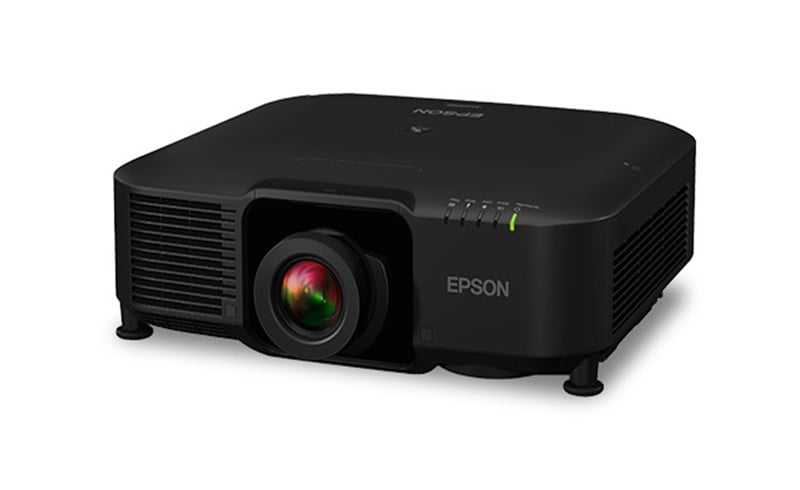
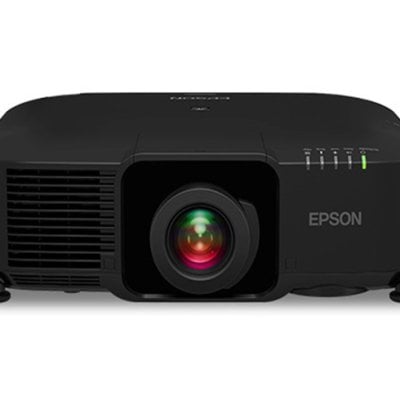
Attaching a Lens
Unplug the power cord from the projector before attaching the lens. Avoid touching the lens with your bare hands to prevent fingerprints on or damage to the lens surface.
- Pull the lens cover off of the projector.

- Remove the stopper, if necessary.

- Pinch the lock lever and move it to the Release position.
- Insert the lens straight into the projector’s lens socket with the white dot facing up.

- Hold the lens firmly after it is fully inserted, then pinch the lock lever and move it to the Lock position.

Note: Make sure the lens is securely attached. - Reattach the stopper.

- Replace the lens cover.

- If prompted, select Yes to calibrate the lens.
Read more:
Epson EB-PU1008W 3LCD Laser Projector Review
Epson EB-PU1008W Projector Placement Tip-Prevent Overheating