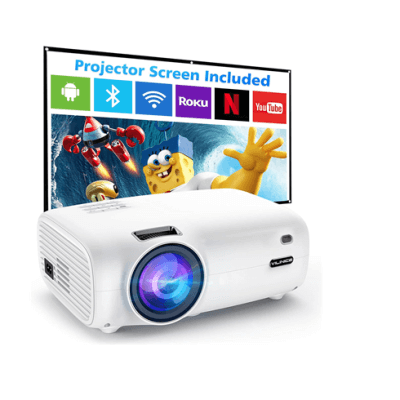
This guide will introduce you how to connect Micro SD Card to SMONET Projector. SMONET Projector comes in multiple connections such as VGA, HDMI, USB as well as a micro sd card slot.
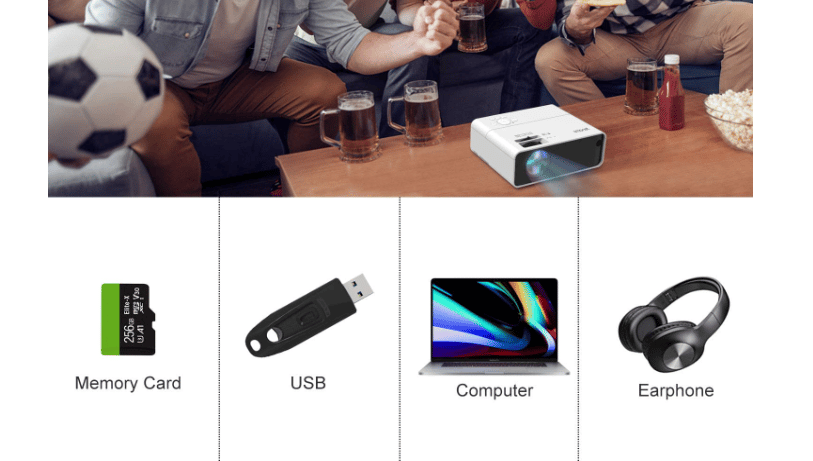
SMONET Projector is featured with HDMI/VGA/USB/AV/3.5mm AUDIO/, Smonet mini movie projector offers wide compatibility for TV Stick/Laptop/PC/DVD/USB Drive, etc. This tip here is going to show you how to connect Micro SD Card to SMONET Projector.
How to Connect Micro SD Card to SMONET Projector
Install micro SD card:
- Turn off the unit before install microSD Card in the SD card slot.
- After connect, press the power button to turn on unit and the power indicator light will turn GREEN.
- Press the SOURCE button to enter and use navigation buttons to choose the micro SD card source.

In this case, you would be able to connect your Micro SD Card to SMONET Projector and play the content you want to see form the Micro SD Card.
Read more:
Way to Connect External Speaker to SMONET Projector
How to Fix SMONET Projector Won’t Turning On?