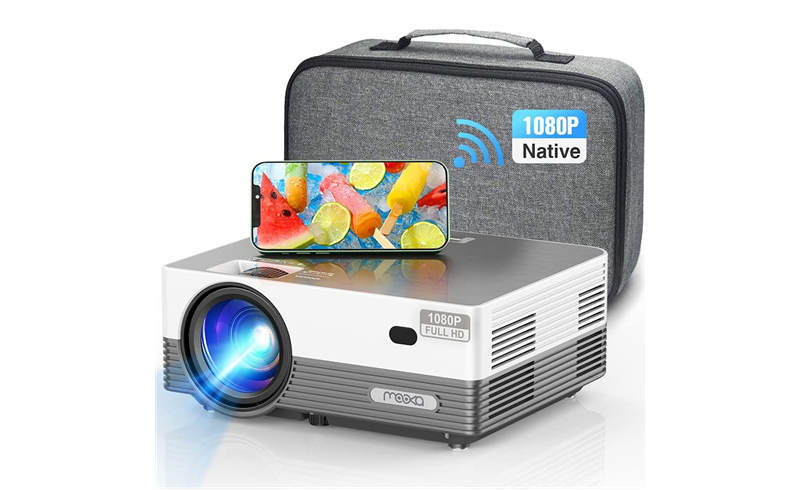
Some Mooka projector users come across many problems when using the projector, including Mooka projector not working, Mooka projector Netflix failure, etc. In this guide, you can see some troubleshooting solutions and a user guide about the Mooka projectors, helping you to solve common problems and use the projector skillfully.
Mooka Projector Troubleshooting
You will learn Mooka Troubleshooting solutions to problems such as not working problem, Netflix play failure, no sound, overheating, image problems, remote control problems, sync screen problems, and no signal in this section.
Mooka projector Not Working
If you find the projector is not working. You can check the following solutions.
- Check whether the Mooka projector is connected to a normal power socket.
- Make sure the power cord is well connected.
- Let the projector cool down first and try again later when the projector is overheated.
- There is a software failure or breakdown.
Mooka Projector Netflix Play Failure
If the Mooka projector fails to play Netflix, you should check whether you are using screen mirroring. Nowadays, Netflix can’t support screen mirroring via smartphones anymore because of copyright protection.
In addition, most Mooka projectors don’t support Dolby Audio. You need to turn off Dolby Audio Digital when you connect the projector to a TV stick or other streaming devices.
Mooka Projector No Sound
Make sure the sound format is supported on the projector. When you watch videos on some streaming platforms, you may need to turn off some sound effects.
Make sure the projector is not muted. You can try to adjust the volume and see whether it works or not.
Check whether the projector is connected to an earphone.
Mooka Projector Troubleshooting: Overheating
If the Mooka projector is overheated, you should check the vents of the projector first. If the vents are blocked, clean them as soon as possible.
Do not cover the projector with cloth for decoration.
Do not place sundries near the vents of the projector as they may interrupt heat dissipation.
Remember to turn off the projector when you are not using the projector. It is recommended to turn off the projector every four hours.
Mooka Projector Troubleshooting: Image Problems
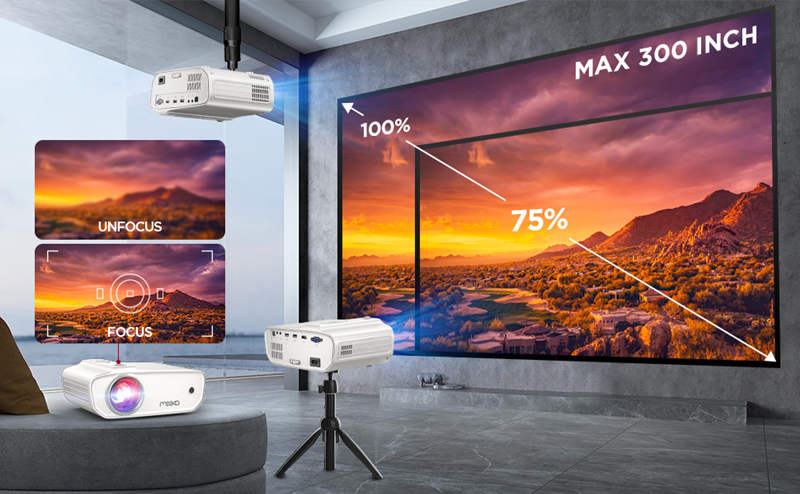
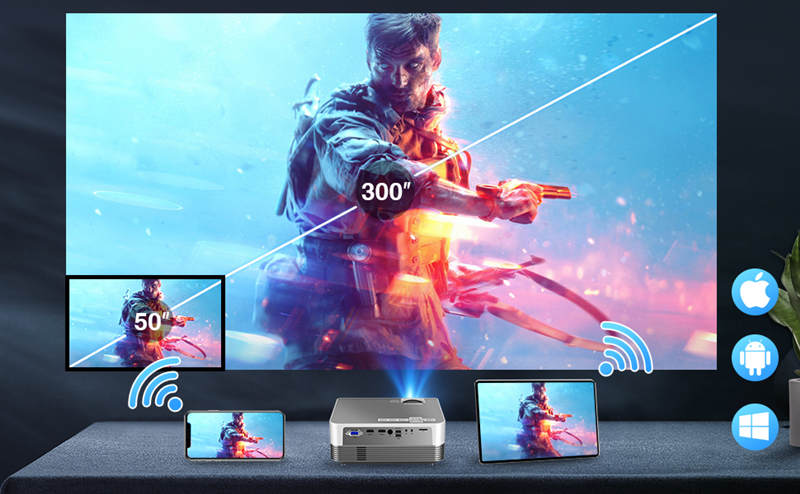
If the projection image is blurry, you should check the ambient light, screen size, and the lens module. If the ambient light is strong, you can close curtains to build a dark environment.
Regarding screen size, the projector can project clear images within its screen size range. Do not exceed the max screen size of the projector. You can also clean the lens to solve blurry images. See More About Causes for projector blurry images: Why is My Projector Blurry?
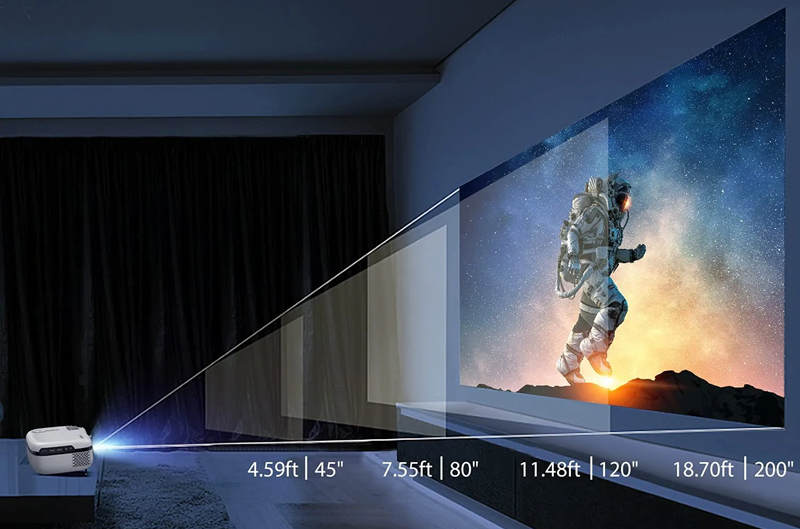
If the image is too small, you can move the projector farther from the screen. You can use the online projector calculator to calculate accurate data.
Mooka Projector Troubleshooting: Remote Control
If the Mooka projector’s remote doesn’t work, just try the following solutions.
Firstly, make sure the remote has a sufficient battery. If the battery runs out, you can replace a new pair of batteries for the projector.
Keep a proper distance between the projector and the remote.
Point the remote control to the IR receiver to avoid an ineffective signal.
The strong fluorescent light should be avoided when using the remote.
Mooka Projector Stuck on Sync Screen
If the projector is stuck when you sync the screen from a smartphone, you can try the following methods.
You can try to lower the output resolution when you are syncing a screen from an App.
Improve the speed of the Wi-Fi network.
If you are using a wireless screen mirroring, you can change to a wired mirroring as it is more stable than the wireless method.
Mooka Projector Troubleshooting: No Signal
If the projector shows no signal, you can try the following solutions.
Make sure you have selected the right signal as the input source of the projector.
Unplug and re-plug the connection cable and try again.
Mooka Projector User Guide
In this part, you can know about setup tips, Wi-Fi connection, and iPhone connection.
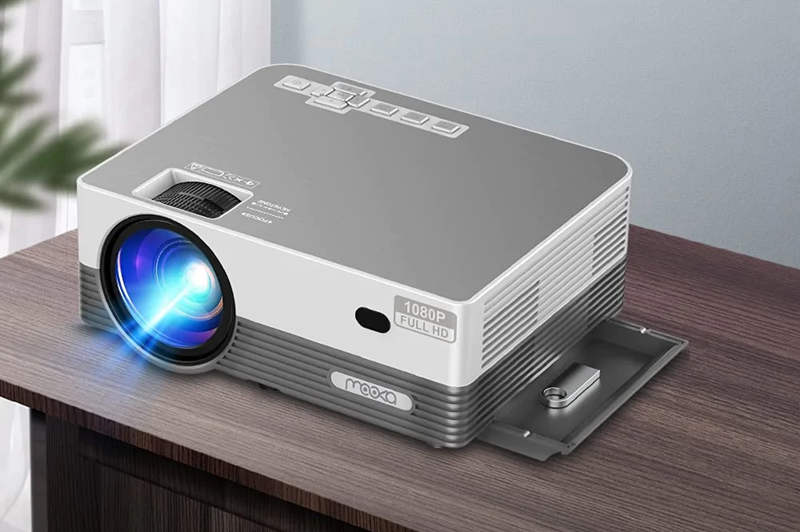
How to Set Up Mooka Projector?
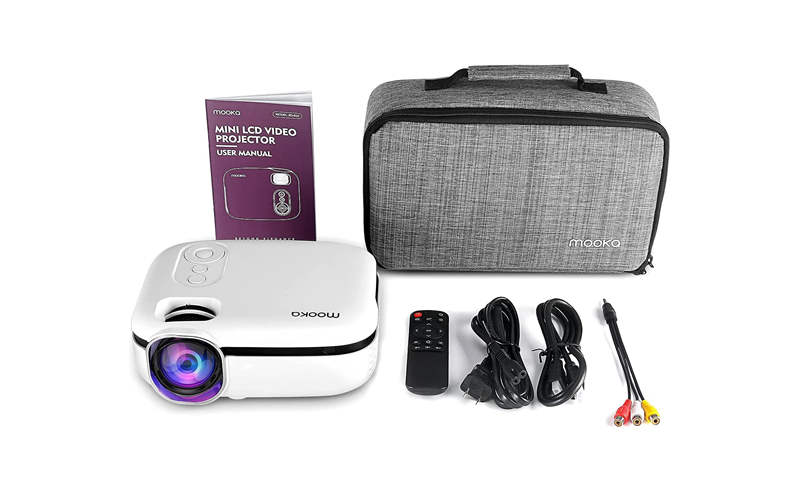
- Unbox the Mooka projector and place the projector on a flat table or cabinet.
- Connect the projector to the power cord and power socket.
- Fix a screen in front of the projector. The screen and the projector should be aligned.
- Turn on the Mooka projector.
- Adjust the position and distance of the projector to fit the screen. If the screen is too big for the image, you can move the projector farther from the screen. Otherwise, you can move the projector closer to the screen to reduce the size of the projection image.
- Roll the focus ring on the projector to adjust image clarity. Adjust the keystone if the image is not rectangular.
- Connect the projector to an external device to load more content.
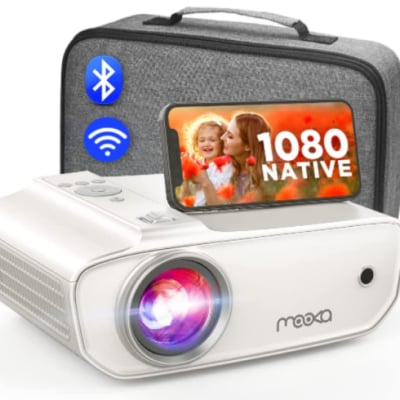
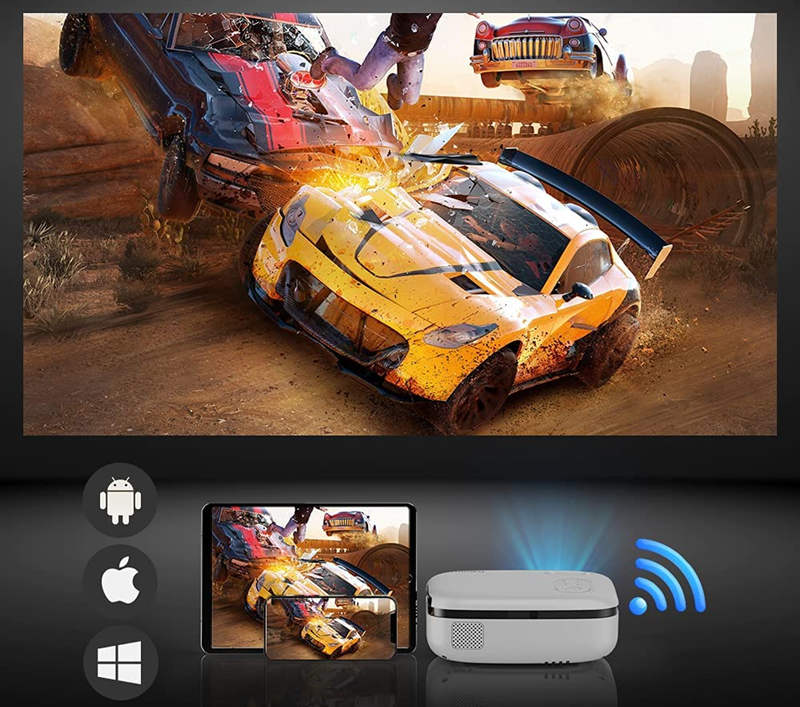
How to Connect Mooka Projector to Wi-Fi?
All Mooka projectors on the market support Wi-Fi and you can follow the steps below to connect it to Wi-Fi.
- Turn on the projector.
- Enter Setting.
- Select Wi-Fi, and the projector searches available Wi-Fi networks nearby.
- Select the Wi-Fi signal of your home or office.
- Then, there will be a virtual keyboard on the screen. Select and input the password using the arrow buttons on the remote control.
- Then, the projector can be connected to Wi-Fi successfully.
How to Connect Mooka projector to iPhone?
Wireless Screen Mirroring
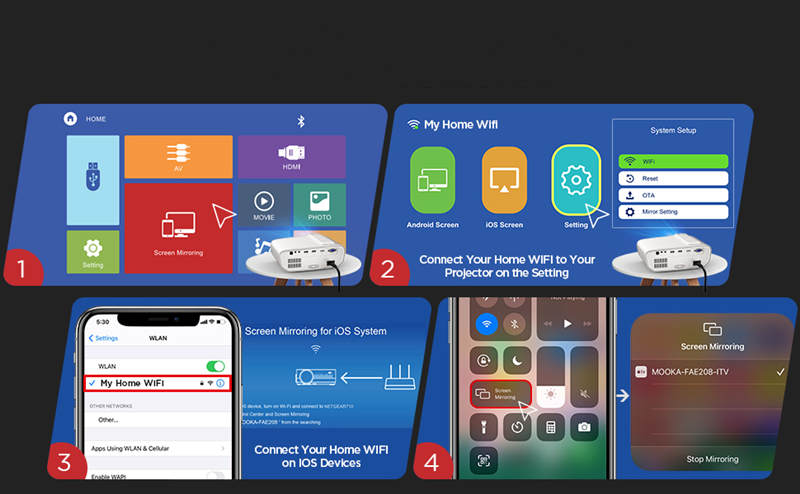
1. Connect the Mooka projector to home Wi-Fi.
2. Go to “Settings” then “Screen Mirroring” and find “iOS Screen”.
3. Connect your iPhone to the same Wi-Fi as the projector.
4. Turn on the “Screen Mirroring” function on your iPhone, select the “MOOKA-XXXX” projector and connect it.
5. Then the projector and your iPhone are connected. The screen of your iPhone can be seen on the projector’s screen.
Wired Connection
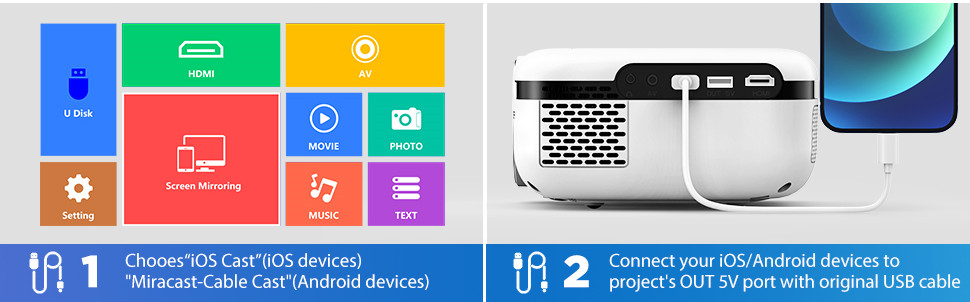
(1) USB Connection
- Turn on the projector and select iOS Cast.
- Get the original lightning charging cable of your iPhone.
- Plug the USB cable into the projector and the lightning end into the iPhone.
- Click the Trust button to enable the projector to access your iPhone.
- Then the projector and your iPhone can be successfully connected.
(2) HDMI Connection
- Turn on the projector and select iOS Cast.
- Get the lightning to HDMI adapter (lightning Digital AV adapter) and HDMI cable.
- Connect the lightning port to your iPhone and the two HDMI ports to the projector and the adapter.
- Tap the Trust button on the smartphone.
- Then, the projector and your iPhone will be connected.
Related Posts