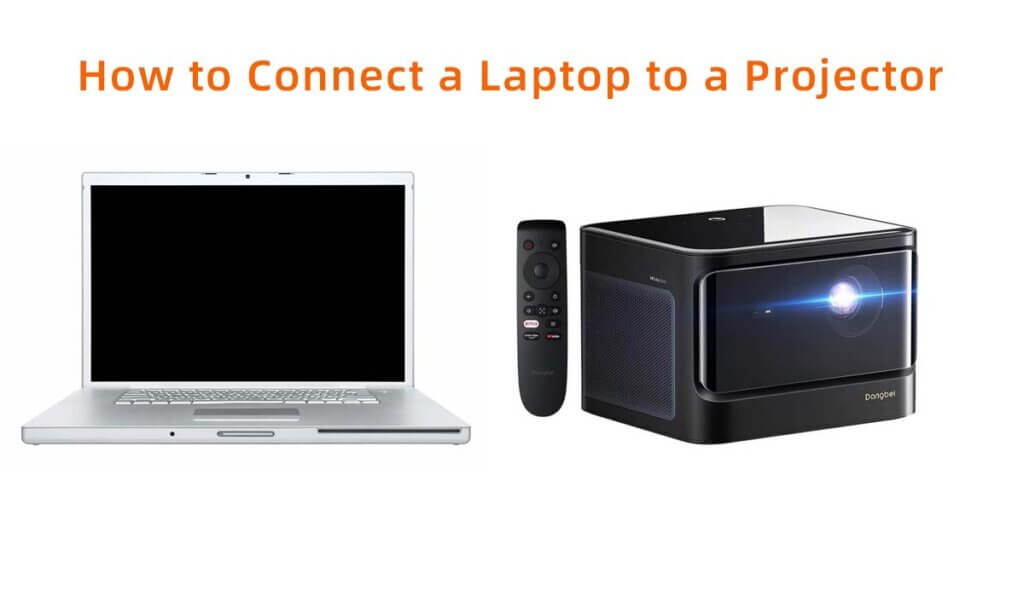
Connecting a laptop to a projector is a straightforward process that allows you to display your laptop’s screen on a larger surface, making it ideal for presentations, movie nights, and more. In this step-by-step guide, we’ll walk you through the process of connecting your laptop to a projector.
Step 1: Gather Your Equipment
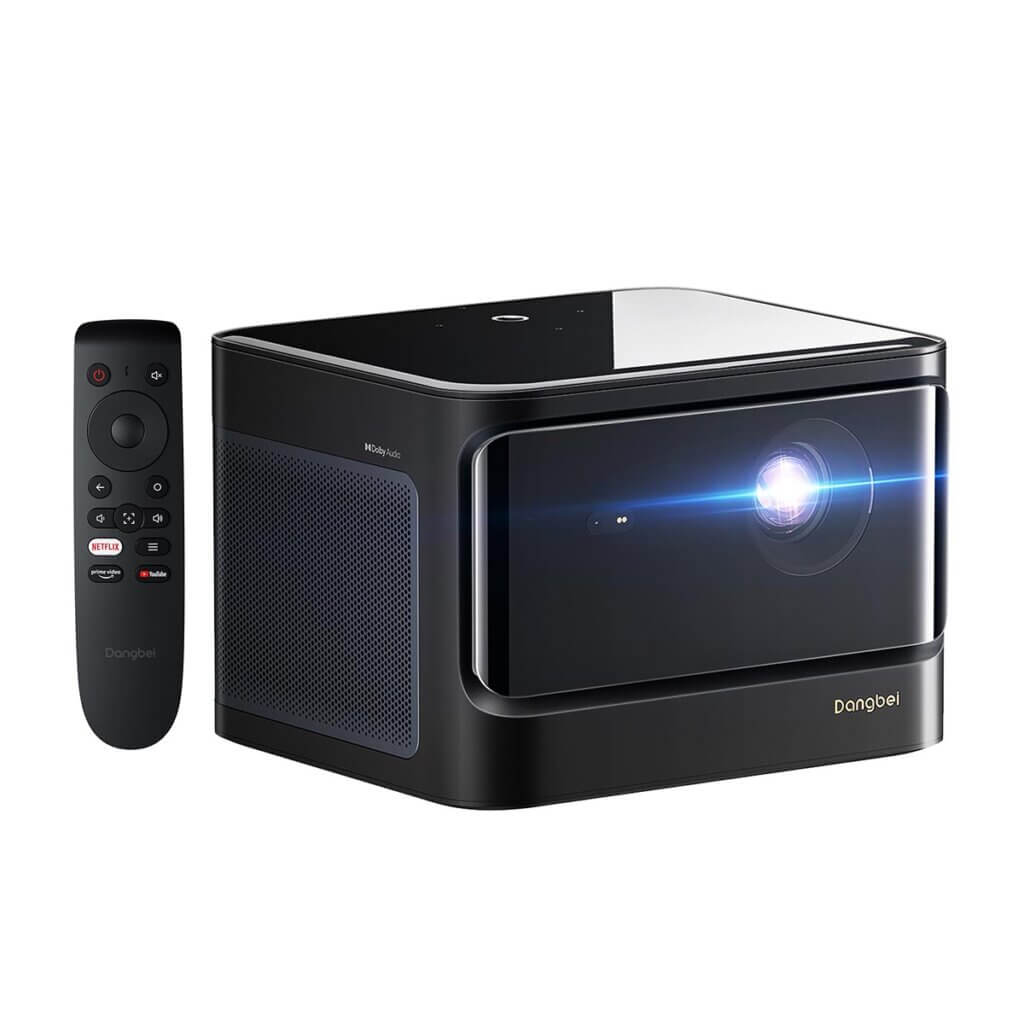
Before you begin, make sure you have the necessary equipment:
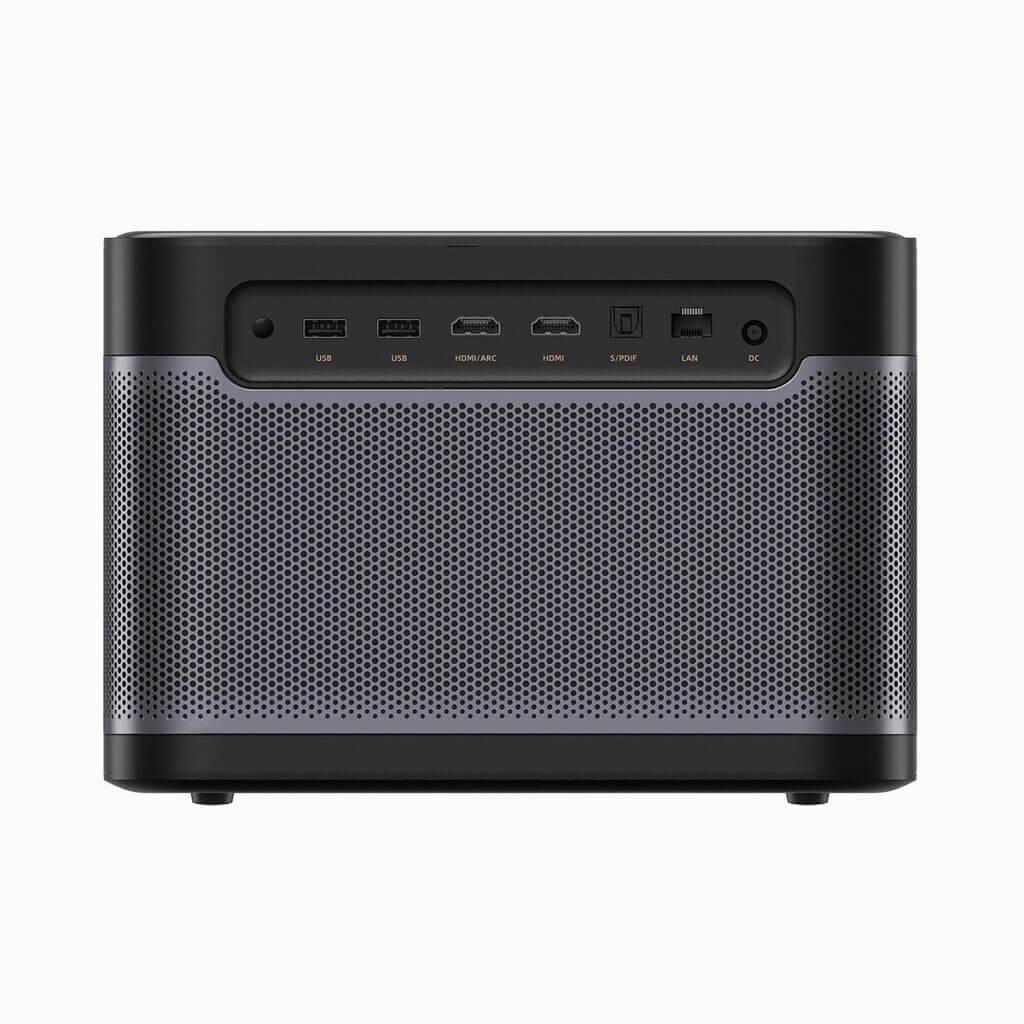
- Laptop with compatible video output (HDMI, VGA, DisplayPort, etc.)
- Projector
- Appropriate video cable (HDMI, VGA, etc.)
- Power cables for both laptop and projector
Step 2: Power On the Projector
Plug in and turn on the projector. Allow it a moment to warm up and project an image onto the screen or wall.
Step 3: Connect the Video Cable
Identify the video output port on your laptop (usually HDMI, VGA, or DisplayPort). Then, connect one end of the appropriate video cable to the laptop’s video output port.
Next, connect the other end of the video cable to the corresponding input port on the projector. Ensure the connection is secure.
Step 4: Select the Input Source
Use the projector’s remote control or control panel to select the correct input source. This will vary depending on the projector model, but it’s usually labeled as “Input,” “Source,” or “Input Select.” Choose the input source that matches the port you connected your laptop to (HDMI, VGA, etc.).
Step 5: Adjust Laptop Display Settings
On your laptop, adjust the display settings to ensure that it’s sending the correct signal to the projector. Most laptops allow you to extend or duplicate the display. To access display settings:
- For Windows: Right-click on the desktop, select “Display settings,” and choose the desired display mode.
- For macOS: Go to “System Preferences,” then “Displays,” and select the appropriate display arrangement.
Step 6: Test the Connection
Once the settings are adjusted, your laptop screen should be visible on the projector. If not, double-check all cable connections and ensure both devices are powered on.
Step 7: Adjust Projection Settings
Use the projector’s focus and keystone adjustments to ensure the projected image is clear and properly aligned.
Step 8: Start Presenting
With the laptop successfully connected to the projector, you’re ready to start presenting, watching a movie, or whatever you have in mind. Control your laptop from the comfort of your seat while your content is displayed on the big screen.
Step 9: Disconnect Safely
When you’re done, disconnect the video cable from both the laptop and the projector. Power off the projector and your laptop.
By following these steps, you can easily connect your laptop to a projector and enjoy a larger display for various purposes. Whether you’re giving a presentation or enjoying entertainment, the process is quick and hassle-free.
Related Reading: