Connecting your Chromebook to a projector can open up a world of possibilities, from delivering presentations to enjoying your favorite movies on a larger screen. In this guide, we’ll walk you through the steps to connect your Chromebook to a projector seamlessly.
Step 1: Check Your Chromebook Ports
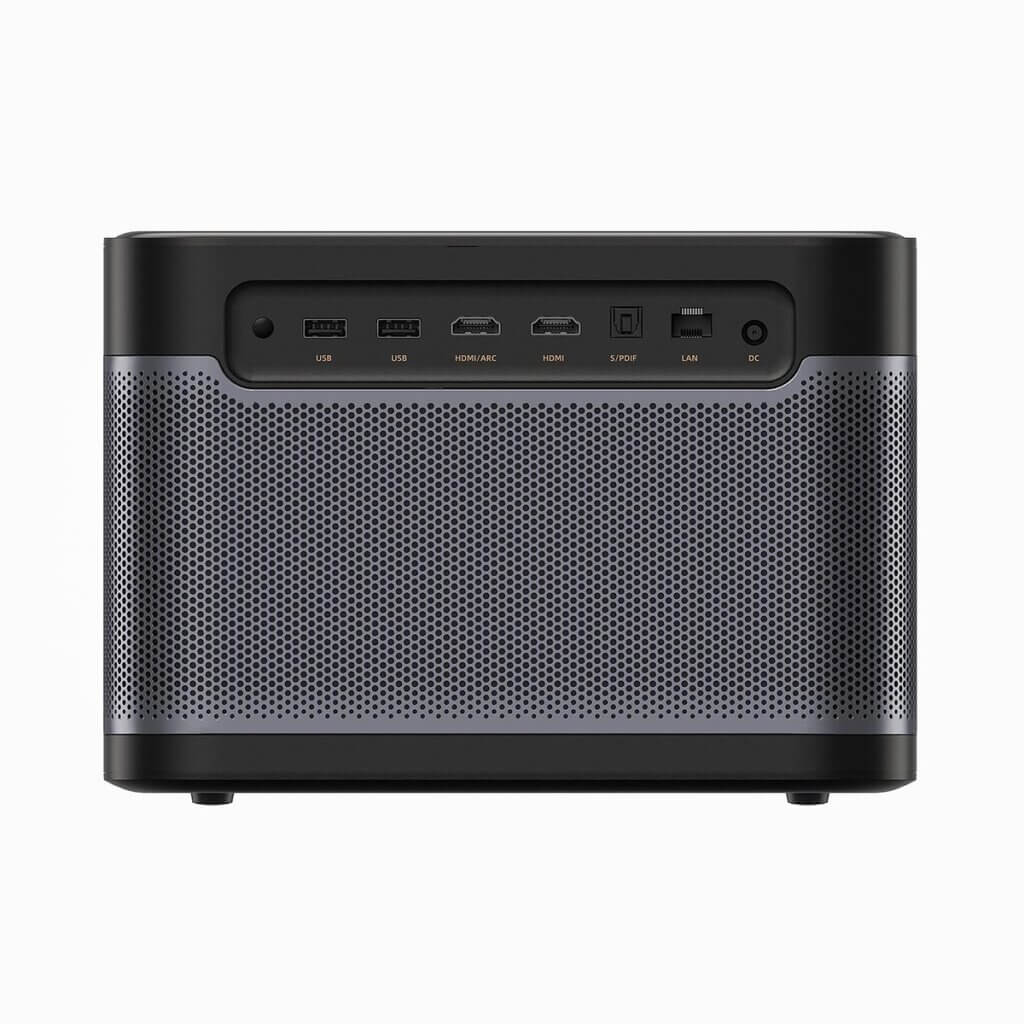
First, you’ll need to identify the ports available on your Chromebook. Most modern Chromebooks come equipped with either an HDMI or USB-C port. It’s essential to know which type of port you have, as this will determine the type of cable you need for the connection.
Step 2: Gather Your Equipment
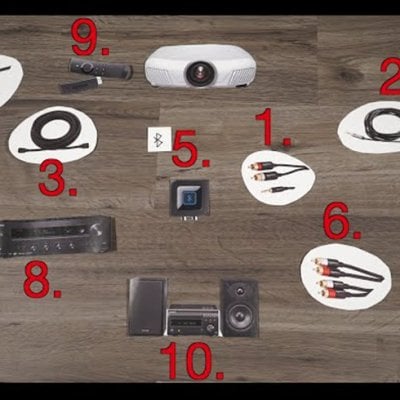
Depending on the ports available, you’ll need the corresponding cable:
- For HDMI: You’ll need an HDMI cable.
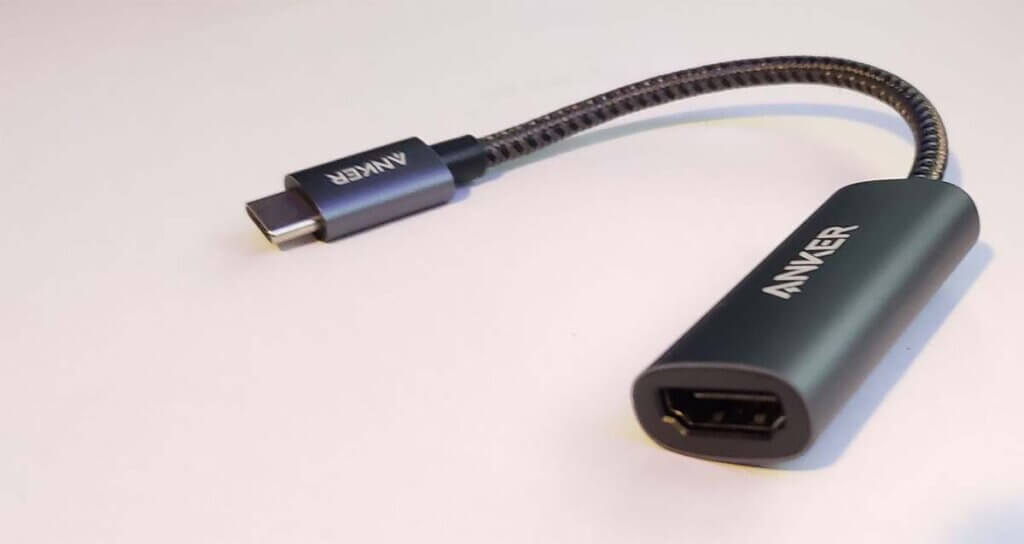
- For USB-C: You’ll need a USB-C to HDMI adapter or cable.
Ensure you also have access to the projector and its power source.
Step 3: Power On the Projector
Before connecting your Chromebook, turn on the projector and let it warm up. Make sure it’s set to the correct input source for the connection.
Step 4: Connect the Cable
Plug one end of your HDMI cable or USB-C to HDMI adapter into your Chromebook’s port and the other end into the projector’s HDMI port.
Step 5: Configure Display Settings
Once the physical connection is established, your Chromebook should automatically detect the projector and configure the display settings. If not, you may need to adjust these settings manually.
- On your Chromebook, click on the clock in the bottom right corner.
- Select the gear-shaped “Settings” icon.
- Scroll down and click on “Display.”
- Under “Multiple displays,” choose “Mirror” to display the same screen on both your Chromebook and the projector. Select “Extended display” if you want to use the projector as an additional monitor.
Step 6: Test the Connection
To ensure the connection is successful, open a document, presentation, or video on your Chromebook. It should display on the projector screen simultaneously.
Step 7: Adjust Resolution (If Needed)
In some cases, you may need to adjust the screen resolution to optimize the display. Go back to the “Display” settings, click on “Display size,” and choose the resolution that works best for your setup.
Step 8: Enjoy Your Presentation or Content
With the connection established and settings adjusted, you’re ready to enjoy your content on the larger projector screen. Whether it’s a work presentation, a movie night, or a gaming session, your Chromebook is now an integral part of your projector setup.
Conclusion
Connecting your Chromebook to a projector is a straightforward process that enhances your multimedia experience and productivity. By following these steps and ensuring you have the right cable and equipment, you can effortlessly project your Chromebook’s screen onto a larger display. Whether you’re a student, professional, or entertainment enthusiast, this connectivity option offers versatility and convenience for a variety of applications.