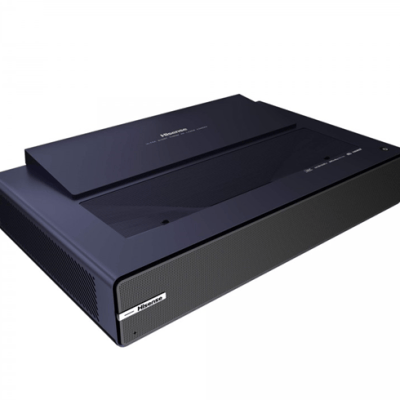
Hisense PX1 are featured with various advanced picture settings. Follow the tip to know how to set up advanced picture settings on Hisense PX1 Projector to get a better viewing experience.
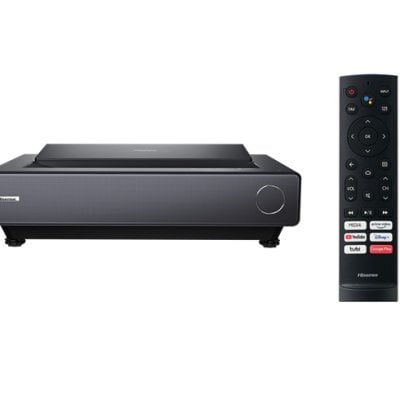
Press home button to select settings icon, and select Picture > Advanced Settings. You can configure picture mode settings that provides the best viewing experience.
• Overscan
Change the video size settings to slightly crop the edges of the displayed image.
• Color Temperature
Adjust how warm (red) or cool (blue) the white areas of an image appears.
• Motion Enhancement
Reduce seeing afterimages that are left on the screen when viewing fast-moving objects. If you select Custom, you can configure Blur Reduction and Judder Reduction manually.
• Digital Noise Reduction
Improve picture clarity by reducing video noise.
• HDMI Dynamic Range
Adjust the HDMI signal range to be more suitable for the content. (HDMI mode only)
• Active Contrast
Automatically darken dark areas and lighten light areas of images to see more details.
• FILMMAKER MODE Auto Detection
A picture quality mode, which can automatically switch according to the film source if you turn on.
• Enhanced Viewing Angle
Set to On to optimize your viewing angle, and you will enjoy a better watching experience.
Read more:
How to Choose Picture Mode on Hisense PX1?
Hisense PX1 Laser Luminance function Setting Tip