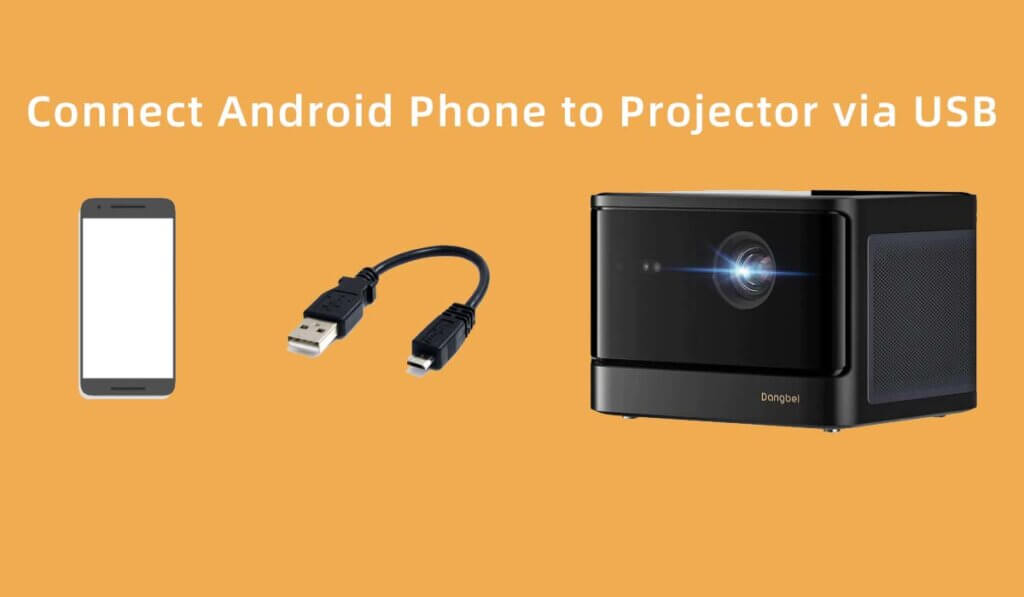
Connecting your Android phone to a projector via USB can be a convenient way to share content with a larger audience, whether it’s for a presentation, movie night, or simply displaying your phone’s screen on a bigger canvas. In this guide, we’ll walk you through the steps to connect your Android device to a projector using a USB cable. This method is suitable for various projector models and Android phones.
Step 1: Check Your Projector and Phone Compatibility
Before you begin, ensure that your projector has a USB port that supports data transfer. Most modern projectors have USB ports, but it’s essential to verify the compatibility. Additionally, make sure your Android phone supports USB OTG (On-The-Go) functionality, allowing it to connect to external devices.
Step 2: Gather the Required Equipment
To connect your Android phone to the projector via USB, you’ll need the following:
- An Android Phone: Ensure it supports USB OTG.
- A Projector: Make sure it has a USB port for data transfer.
- USB Cable: You’ll need a USB cable suitable for your Android phone (usually USB-A to USB-C or USB-A to micro-USB).
Step 3: Prepare Your Android Phone
- Charge Your Phone: Ensure your Android phone has sufficient battery life or connect it to a charger during the process to prevent it from running out of power.
- Enable USB Debugging: On some Android phones, you might need to enable USB debugging for successful connection. To do this, go to Settings > About Phone > tap on ‘Build Number’ multiple times until Developer Options are enabled. Then, go to Developer Options and enable USB Debugging.
Step 4: Connect Your Android Phone to the Projector
Follow these steps to connect your Android phone to the projector:
- Power On Your Projector: Plug in and turn on your projector. Ensure it’s set to the correct input source.
- Plug in the USB Cable: Connect one end of the USB cable to your Android phone and the other end to the projector’s USB port.
- Switch to USB Mode on the Projector: On the projector’s menu, navigate to the USB input option. This step may vary depending on your projector model. Refer to your projector’s manual for specific instructions.
- Allow Access on Your Android Phone: A pop-up notification may appear on your Android phone asking for permission to allow access to the connected device. Select ‘Allow’ or ‘OK.’
- Wait for the Connection: After granting access, your phone’s screen should be mirrored on the projector. It might take a few moments for the connection to establish fully.
Step 5: Adjust Display Settings (if necessary)
Depending on your Android phone and projector, you might need to adjust the display settings. Go to your phone’s display settings and select ‘Cast Screen’ or ‘Wireless Display.’ From there, you can change the screen mirroring preferences as needed.
Step 6: Enjoy Your Content
Once the connection is established, you can start sharing content from your Android phone on the projector. Play videos, show presentations, browse the web, or display photos—all directly from your phone.
Conclusion
Connecting your Android phone to a projector via USB is a straightforward process that allows you to share your phone’s screen with a larger audience. By following these steps, you can enjoy a seamless connection and make the most of your Android device’s capabilities in various settings, from business presentations to entertainment at home.