In this guide, we will share a guide on the HAPPRUN projector setup. We will take HAPPRUN H1 as an example to demonstrate the setup procedures.
HAPPRUN Projector Setup Guide
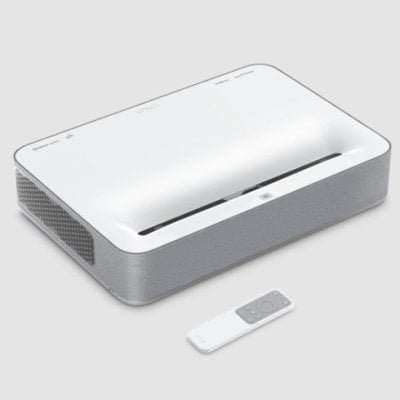
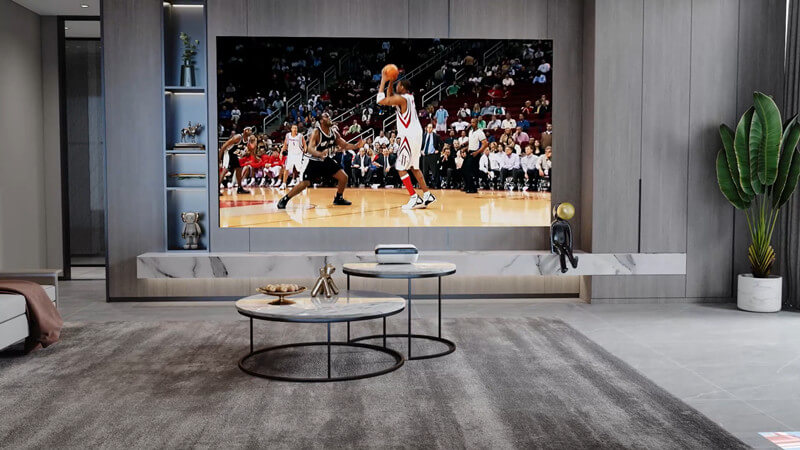
1. Place your HAPPRUN projector on a level place. The lens should point to your screen (if you have no screen, you can choose a neat white wall for projection). To ensure a rectangular image, the projector should be perpendicular to the screen or wall.
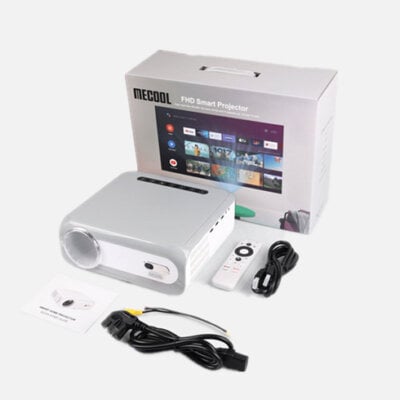
2. Connect the projector to a power outlet.
3. Turn on the HAPPRUN projector by pressing the power button on the projector or the remote control.
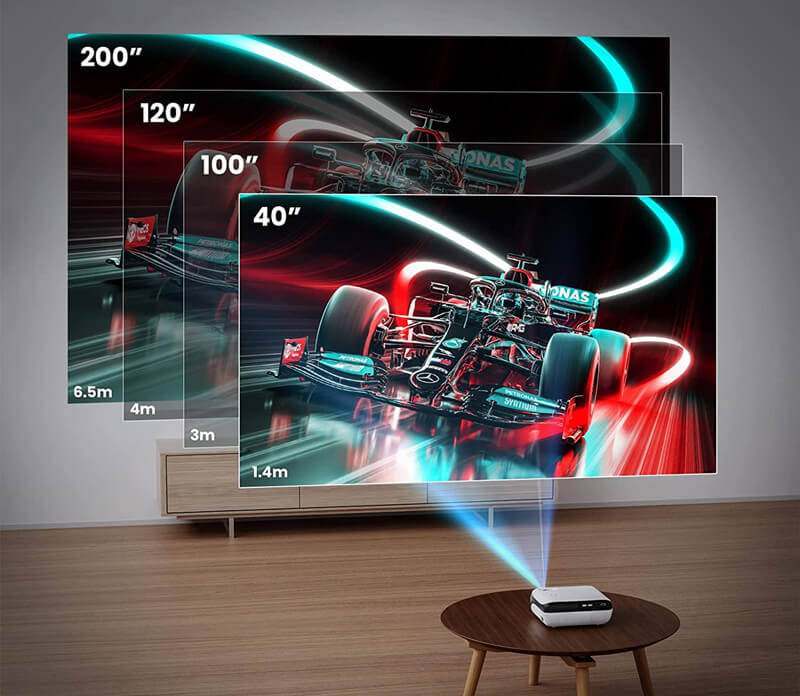
4. Adjust the throw distance to make the projection image fit the screen. The longer the throw distance, the bigger the image size.
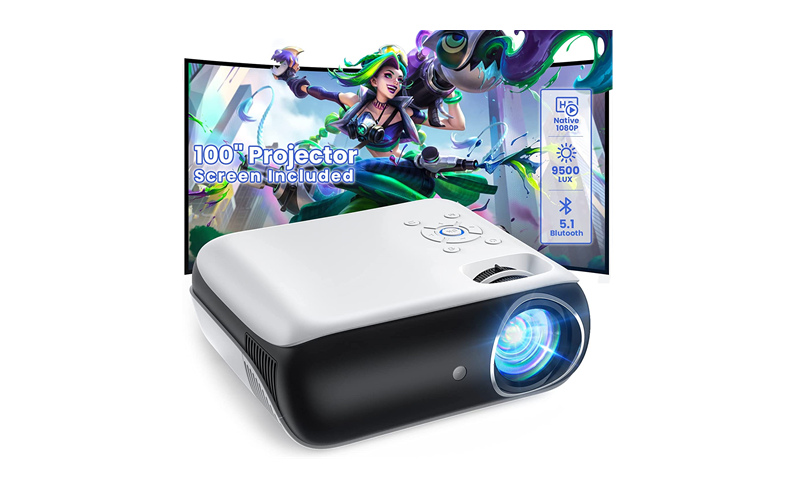
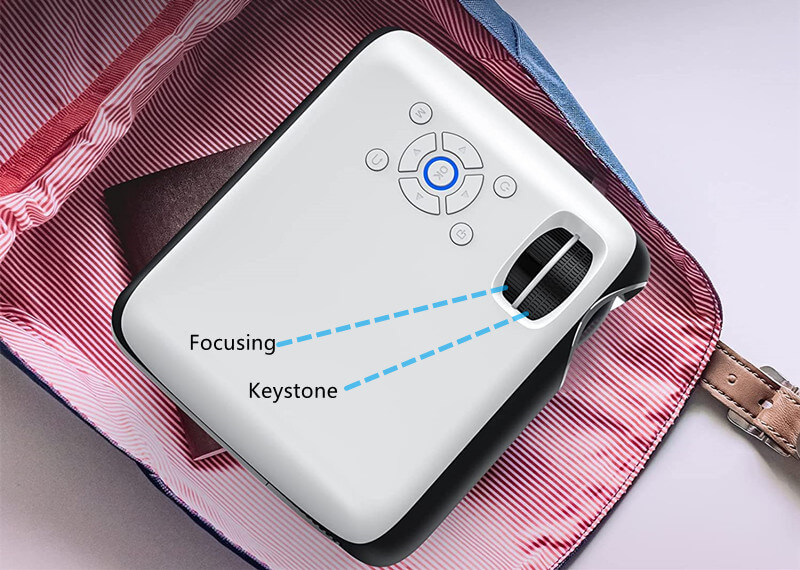
5. Roll the focusing knob to make the image clear. Adjust the keystone knob to make the image rectangular.
6. Then, the image setting is done.
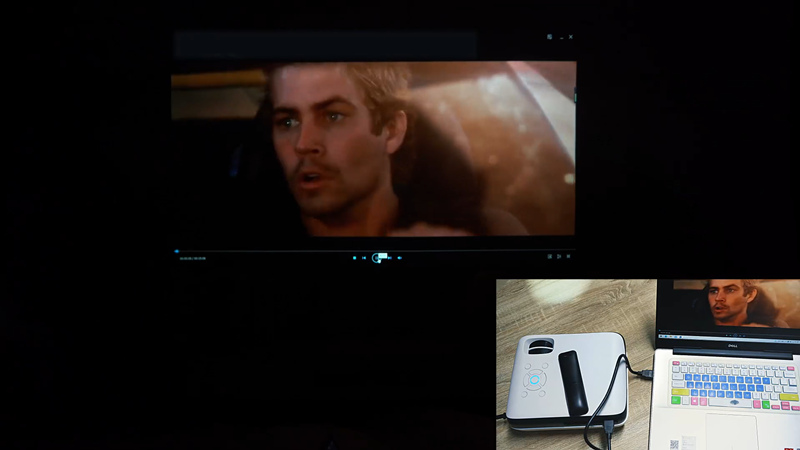
7. If you want to access content via the projector, you can connect it to an external device (for example, a computer, laptop, USB drive, or game console) via ports.
For example, you can connect it to a laptop via an HDMI port according to the following steps.
- Power on the HAPPRUN projector.
- Connect the projector and your laptop by means of an HDMI cable.
- Then, select HDMI as the input source.
- Press “windows+P” to load projection modes.
- Select Copy to continue.
- Then, the screen of your laptop can be seen on your projector screen.
HAPPRUN Projector Setup Guide Tips
Keep a dimly lit environment to improve the viewing effect.
The projector and the screen should be perpendicular to avoid repeated keystone corrections.
Place the projector in a proper position, the lens is recommended to align with the center position of the screen.
Related Posts