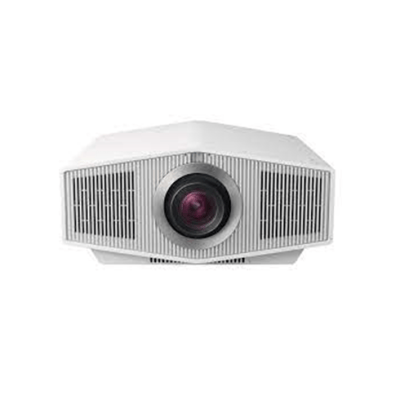
You can save up to three combinations of lens settings, aspect ratio, and blanking to cutomize your own screen position of Sony VPL-XW6000 Projector.
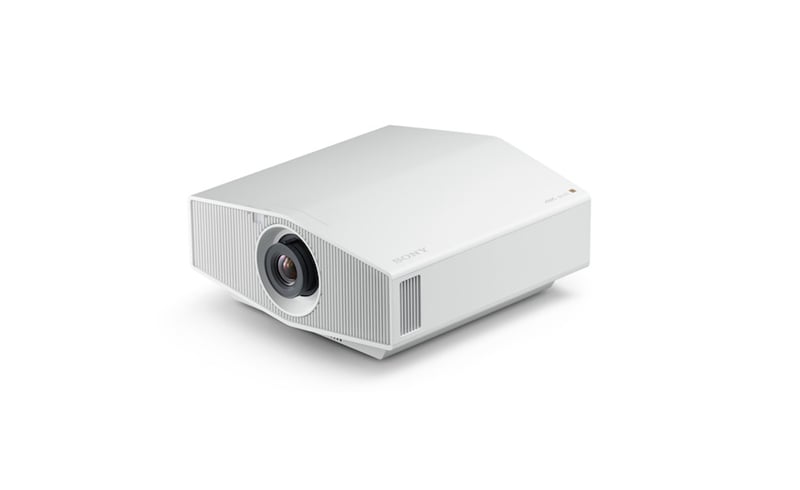
Steps to set up screen position of Sony VPL-XW6000 Projector
- Press the MENU button.
- Select
 [Screen] – [Picture Position].
 - After setting the lens (focus, image size, image position), select the desired position from [Custom 1] to [Custom 3] according to the adjusted screen aspect-ratio. Then confirm the selected position.
- Select [Save], [Delete], or [Select]. To know more about, see the description below:
[Save]
The current lens settings (focus, image size, image position) are saved in the selected position. If another setting has already been saved in the position, it is overwritten.
[Delete]
The saved setting is deleted. After the setting is deleted, [Custom 1] to [Custom 3] are changed to [—] in the display.
[Select]
The settings of the selected position are recalled.
Read more:
Sony VPL-XW6000 Projector Brightness Adjustment Guide

