Adjust projection mode
- Traditional projector:
1. When the projector is turned on, press the “menu” button on the remote control or the projector body to pop up the menu.
2. Press the “right” arrow key to select the “system setting: basic” option.
3. Press the down arrow key to select the projector position option.
4. Press the “left” or “right” arrow keys to switch the projector position mode.
5. After the screen is normal, press the “menu” button twice to exit and save the settings.
- Intelligent projector:
1. Use the remote control to turn on the system settings of the projector.
2. Select the projection mode and adjust it according to the installation mode.
Projector positioning and installation mode
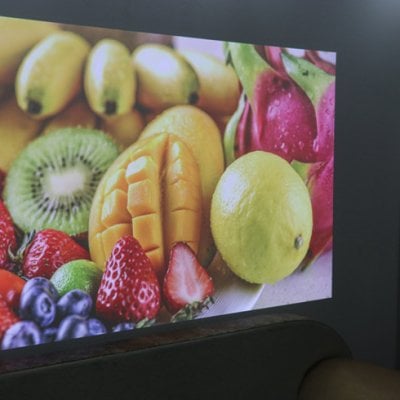
- Front
When this position is selected, the projector is directly in front of the screen. This is the most common way to place projectors, which is fast and mobile.

- Front/Ceiling mounted
When this position is selected, the projector hangs upside down on the ceiling directly in front of the screen. Purchase a projector ceiling suspension installation kit to install the projector on the ceiling.

- Rear/Ceiling mounted
When this position is selected, the projector hangs upside down on the ceiling directly behind the screen. This installation location requires a dedicated projection screen. And projector ceiling suspension mounting kit.

- Rear
When this position is selected, the projector is located directly behind the screen. Please note that a dedicated rear projection screen is required.