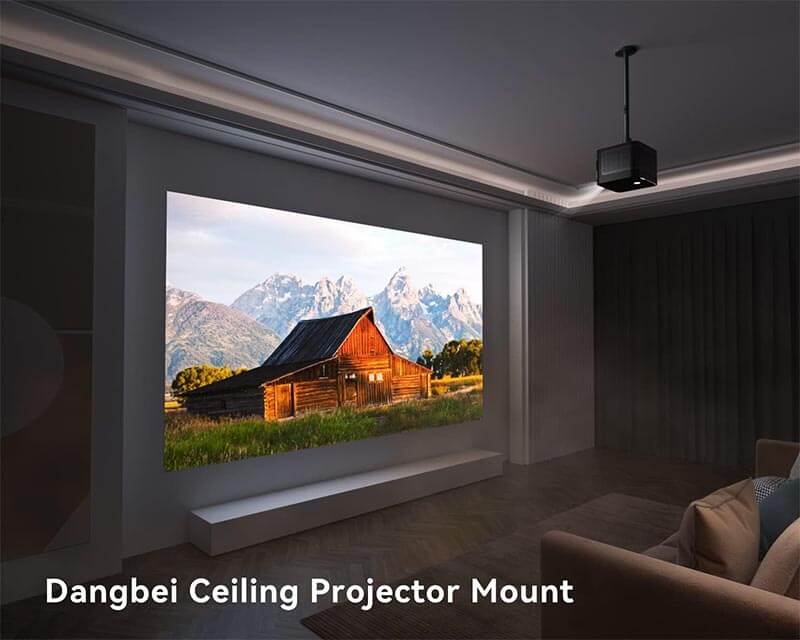
Are you looking to enhance your home entertainment system or create a professional presentation setup? Mounting a projector to the ceiling is a popular choice for achieving optimal viewing angles and maximizing space. In this guide, we’ll walk you through the process step by step to ensure a successful installation.
Step 1: Gather Your Tools and Equipment
Before you begin, make sure you have all the necessary tools and equipment on hand. You’ll need a projector mount kit, a ladder, a power drill, a stud finder, screws, and possibly a ceiling adapter plate if your ceiling is not flat.
Step 2: Choose the Mounting Location
Select a suitable location on the ceiling where you want to install the projector. Make sure it’s centered with the screen and offers a clear line of sight for the projector. Also, consider the distance from the screen and any obstructions that may affect the image quality.
Step 3: Locate Ceiling Joists
Use a stud finder to locate the ceiling joists where you’ll attach the projector mount. Ceiling joists provide the necessary support to hold the weight of the projector and mount securely. Mark the positions of the joists with a pencil.
Step 4: Attach the Mounting Bracket
Using the power drill, screw the mounting bracket into the ceiling joists at the marked positions. Ensure that the bracket is level and securely fastened to the ceiling. If your ceiling is made of concrete or another hard material, you may need to use anchors or toggle bolts for extra support.
Step 5: Install the Projector Mount
Attach the projector mount to the mounting bracket according to the manufacturer’s instructions. Most mounts feature adjustable arms and tilt mechanisms for precise positioning. Make sure the mount is securely locked in place and able to support the weight of your projector.
Step 6: Connect Cables and Adjust Settings
Once the mount is installed, carefully attach the projector to the mount using the appropriate screws or mounting plate. Then, connect the necessary cables, such as HDMI or VGA, from the projector to your A/V source.
Step 7: Test and Adjust
Turn on the projector and test the image alignment and focus. Use the projector’s keystone and lens shift adjustments to fine-tune the image position and ensure it fills the screen evenly. Make any necessary adjustments to achieve the desired image quality.
Step 8: Secure Cables and Finish
Finally, secure any loose cables and tidy up the installation area. Use cable ties or cable management clips to keep the cables organized and out of the way. Double-check all connections and make sure everything is properly secured before completing the installation.
With these steps, you can successfully mount a projector to the ceiling and enjoy immersive viewing experiences in your home theater or presentation space. Remember to follow safety precautions and consult the projector and mount manufacturer’s instructions for specific guidelines and recommendations.