In today’s digital age, projectors have become an essential tool for presentations, movie nights, and more. If you own a MacBook and a Dangbei Atom projector, you might be wondering how to connect the two devices seamlessly. In this guide, we’ll walk you through the steps to connect your MacBook to the Dangbei Atom projector effortlessly.
Step 1: Check Your Ports
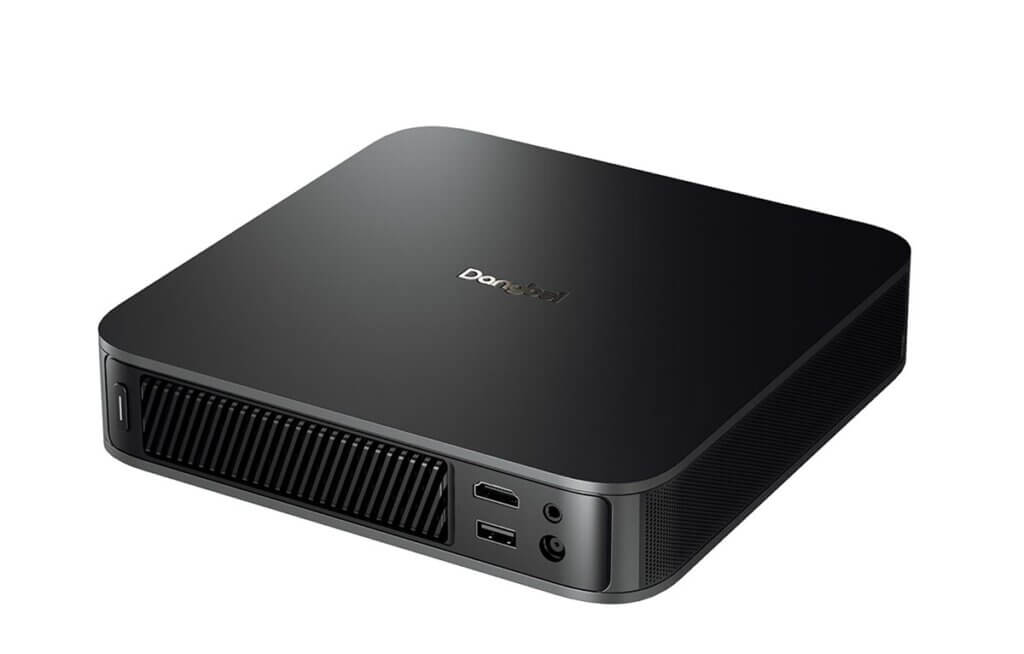
Before you begin, ensure that both your MacBook and Dangbei Atom projector have the necessary ports for connectivity. Most modern MacBooks come with USB-C ports, while the Dangbei Atom projector typically supports HDMI and USB ports. If needed, you may require adapters or cables to bridge the connection between the two devices.
Step 2: Gather Your Cables or Adapters
Depending on the ports available on your MacBook and Dangbei Atom projector, you may need specific cables or adapters for connection. For example, if your MacBook has a USB-C port and the projector has an HDMI port, you’ll need a USB-C to HDMI adapter or cable. Similarly, if your MacBook has an HDMI port, you can use an HDMI cable for direct connection.
Step 3: Connect Your MacBook to the Projector
Once you have the necessary cables or adapters, follow these steps to connect your MacBook to the Dangbei Atom projector:
- Turn off both your MacBook and the Dangbei Atom projector.
- Connect one end of the HDMI cable or adapter to the HDMI port on the Dangbei Atom projector.
- Connect the other end of the HDMI cable or adapter to the appropriate port on your MacBook. If using a USB-C adapter, plug it into one of the available USB-C ports on your MacBook.
- Power on the Dangbei Atom projector and set it to the correct input source (HDMI).
- Turn on your MacBook.
Step 4: Adjust Display Settings (if necessary)
Once connected, your MacBook should automatically detect the Dangbei Atom projector as a secondary display. If not, you may need to adjust your MacBook’s display settings manually. Here’s how:
- Click on the Apple logo in the top-left corner of your MacBook screen.
- Select “System Preferences” from the dropdown menu.
- Click on “Displays.”
- In the Displays window, you should see the Dangbei Atom projector listed as a secondary display. Click on it to select it.
- Choose the desired resolution and display arrangement options according to your preferences.
- Close the Displays window to apply the changes.
Step 5: Enjoy Your Content
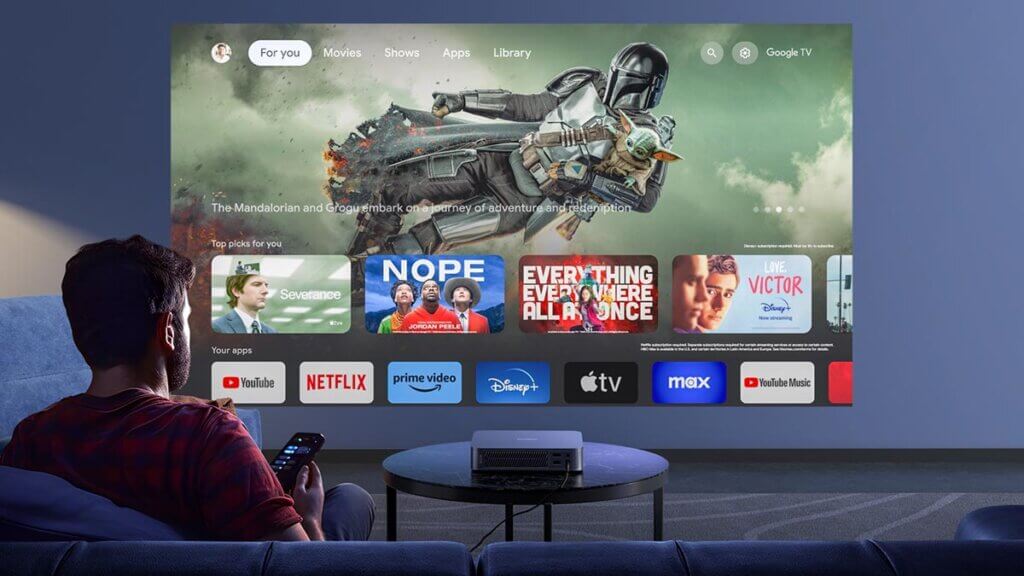
Once your MacBook is successfully connected to the Dangbei Atom projector, you can start enjoying your favorite content on the big screen. Whether it’s a presentation, movie, or slideshow, you can now showcase it with ease using your MacBook and the Dangbei Atom projector.
Conclusion:
Connecting your MacBook to the Dangbei Atom projector is a straightforward process that enhances your viewing and presentation experience. By following the steps outlined in this guide, you can establish a seamless connection between the two devices and enjoy immersive content on the big screen. Whether you’re at home, in the office, or on the go, the combination of a MacBook and Dangbei Atom projector offers endless possibilities for entertainment and productivity.