Mounting a projector screen is a crucial step in creating a cinematic experience in your home or office. Whether you’re a movie enthusiast or require a professional setup for presentations, proper installation ensures optimal viewing angles and a clean, clutter-free space. In this article, we will provide you with a comprehensive guide on mounting a projector screen, covering everything from selecting the right location to installation techniques.
Selecting the Ideal Location
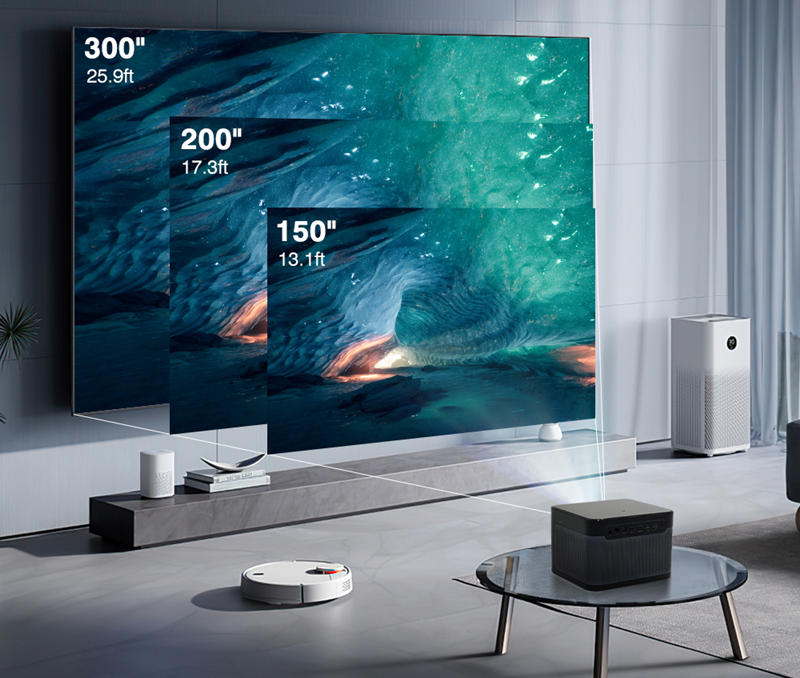
- Consider Viewing Distance: Determine the ideal distance between the projector screen and the viewers. This will depend on the screen size and the room’s dimensions. Ensure that viewers can comfortably see the entire screen without straining their necks or eyes.
- Room Lighting: Choose a location with controlled lighting conditions. Avoid areas with direct sunlight or excessive ambient light, as they can diminish the screen’s visibility and image quality. Consider using blackout curtains or blinds to control natural light.
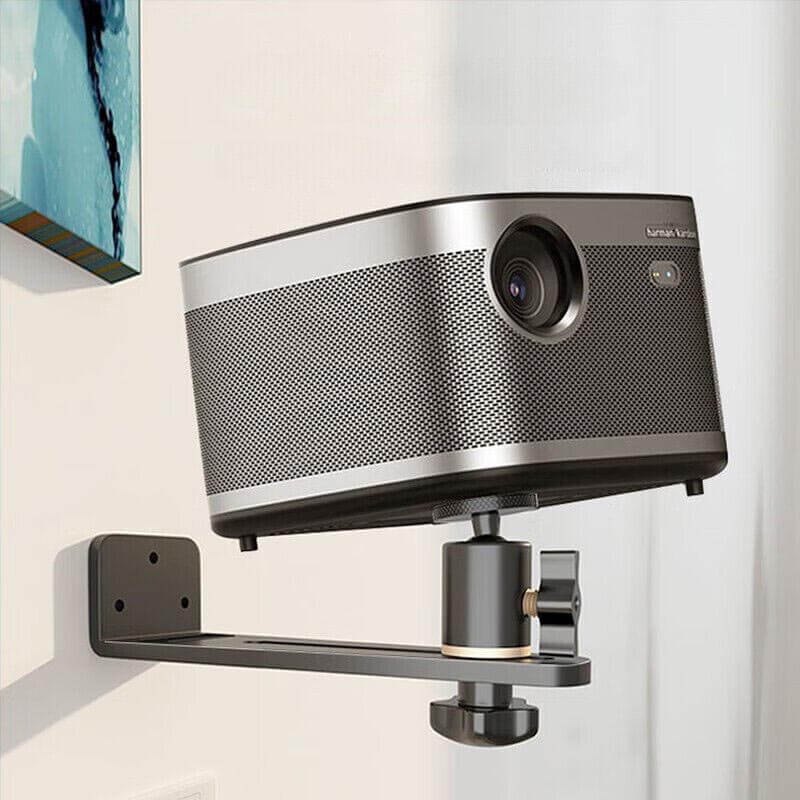
Wall-Mounted Installation:
- Finding the Studs: Use a stud finder to locate the studs in the wall. Studs provide a sturdy and secure anchor point for mounting the screen. Mark the stud locations for reference.
- Mounting Brackets: Install the mounting brackets onto the wall, making sure they align with the stud locations. Use a level to ensure they are perfectly straight. Secure the brackets using appropriate screws and anchors.
- Attaching the Screen: Depending on the screen model, follow the manufacturer’s instructions to attach the screen to the mounting brackets. This may involve using hooks, brackets, or a sliding mechanism. Ensure the screen is level and securely attached.
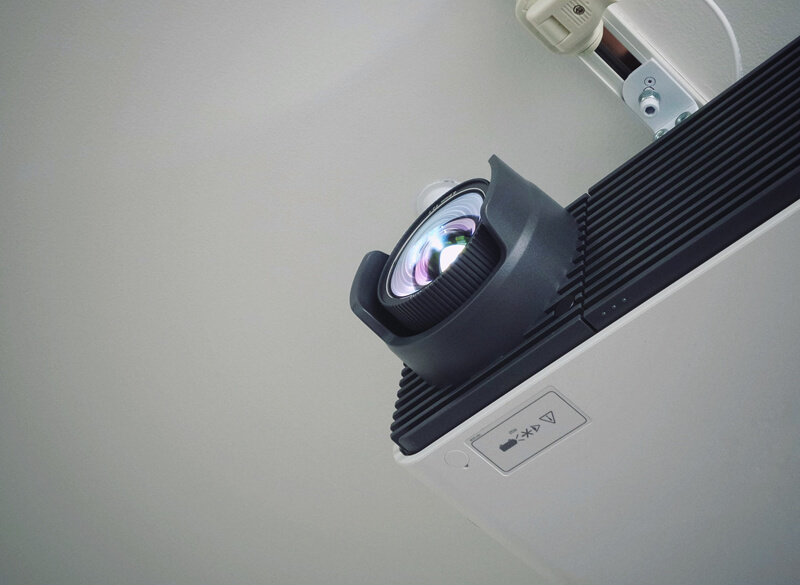
Ceiling-Mounted Installation:
- Mounting Plate Installation: Attach the mounting plate to a ceiling joist using screws and appropriate anchors. Ensure the mounting plate is aligned with the desired screen position and is level.
- Screen Installation: Depending on the screen type, secure it to the mounting plate using hooks, brackets, or a sliding mechanism. Follow the manufacturer’s instructions to ensure proper attachment and alignment.
- Height Adjustment: Adjust the height of the screen to achieve the desired viewing position. Consider factors such as viewer height and seating arrangements to optimize the viewing experience.
Motorized Screen Installation:
- Power Source: If you are installing a motorized projector screen, ensure there is a nearby power source to connect the screen’s motor. Consider hiring a professional electrician for safe and proper wiring.
- Remote Control Programming: Follow the manufacturer’s instructions to program the remote control for the motorized screen. Test the functionality to ensure smooth operation.
Conclusion
Mounting a projector screen is a crucial step in creating an immersive viewing experience. By selecting the ideal location, whether it’s wall-mounted or ceiling-mounted, you can optimize viewing angles and maximize image quality. Ensure proper installation by using studs for wall-mounted screens, securely attaching brackets or mounting plates, and following manufacturer instructions. Consider factors such as viewing distance, room lighting, and screen height to create the perfect setup. With careful planning and execution, you can enjoy a seamless and cinematic experience with your projector screen.
Remember, if you’re unsure about the installation process or need assistance with electrical wiring, consult with professionals to ensure a safe and successful setup.