Follow the steps below, you can easily and quickly set up your VILINICE VL208 projector and start a movie journey at any time.
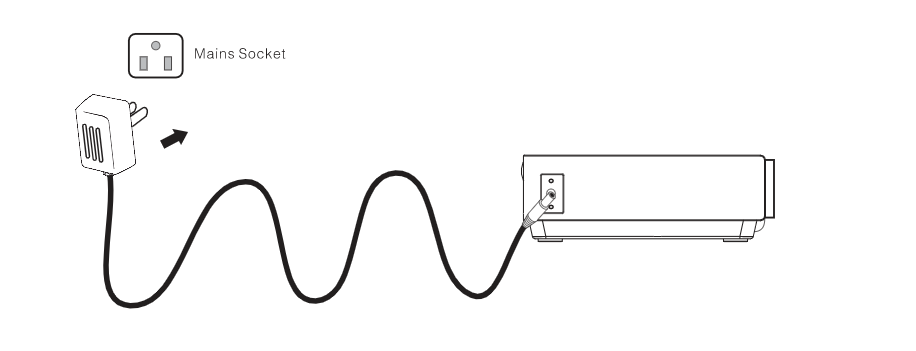
1. Connect the power cord as shown in the picture below
2. Install the remote control with battery
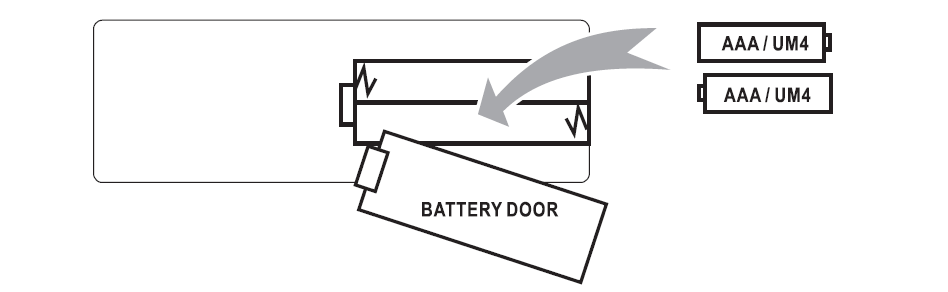
Remove the battery compartment cover on the back of your remote by carefully sliding to open. The battery cover can then be lifted away. Fit the correct batteries (2 X AAA batteries not included), referring to the polarity markings. Finally, replace the cover.
3. Remove the lens cover of the VILINICE VL208 projector
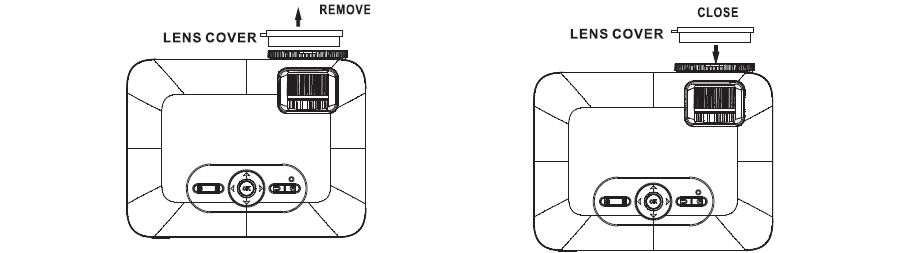
After you finish watching projector, it’s better to put the lens cover back, lest the dust entering the lens compartment.
4. Place your VILINICE VL208 projector
You can choose from the four mounting methods as you like: front table, front ceiling, rear table and rear ceiling. Ceiling mounting can be a little more complex, click this for more details: VILINICE VL208 Projector Ceiling Mount Guide. No matter what mounting method you choose, in the end you need to slightly move the projector until you get a perfect square image projection.