Follow the steps below, you can quickly set up your new ViewSonic NH8 Projector in few minutes
First activation
If you activate the projector for the first time, you will see the welcome screen first, then manual focus, keystone and zoom shift, network settings and multi-screen interaction will need to be preferred. Follow the on-screen instructions using the OK and Up/Down/Left/Right buttons on the remote. When the Tencent Launcher screen appears, the projector is ready.
Network settings
Choose one of the available Wi-Fi options. Also, a wired LAN connection can be used.
Image settings
If autofocus is on, the autofocus adjustment will run every time the projector is turned on. If Auto Keystone/Vertical Keystone is turned on at the same time, Auto Keystone will run every time you move the projector. During Auto Keystone, please do not move the machine frequently to avoid errors when correcting data. Auto Keystone needs to 10 seconds time.
Select input source
This projector can be connected to multiple devices at the same time. But it can only display one full screen at a time.
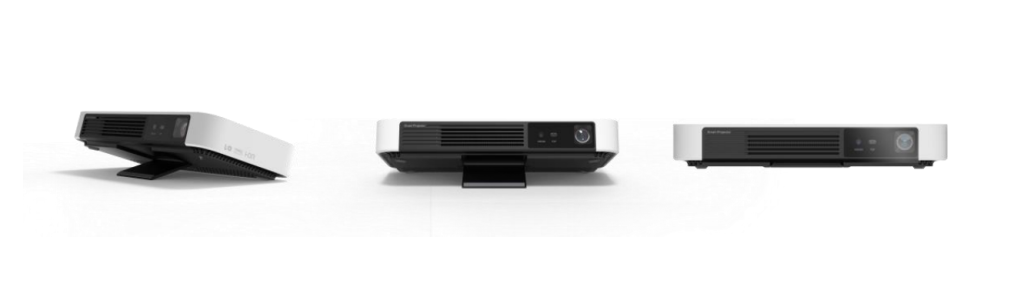
Adjust the projection angle
Adjusting the projector’s height and projection angle The projector is equipped with an adjustment foot. Adjusting the feet will change the height and vertical projection angle of the projector. Carefully adjust the feet to fine-tune the position of the projected image.
Read more:
Projecting From MicroSD Card – ZTE Spro 2 Projector Tip
Things Need to Know About Installing MicroSD Card on ZTE Spro 2 Projector