This guide introduces a setup guide on the Nebula laser projector, helping you to use the projector conveniently.
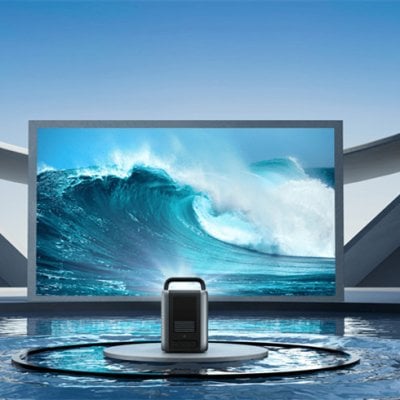
Nebula Cosmos Laser Projector Setup
Connection
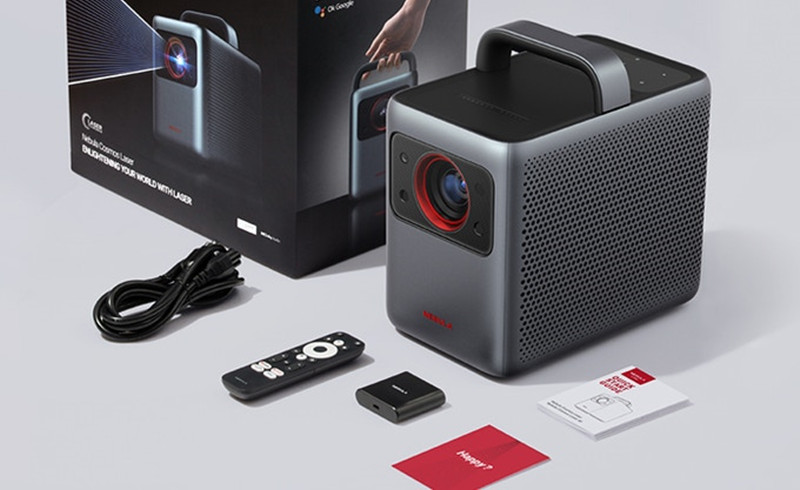
You need to install a 4K streaming dongle and then connect to power.
Here are the steps:
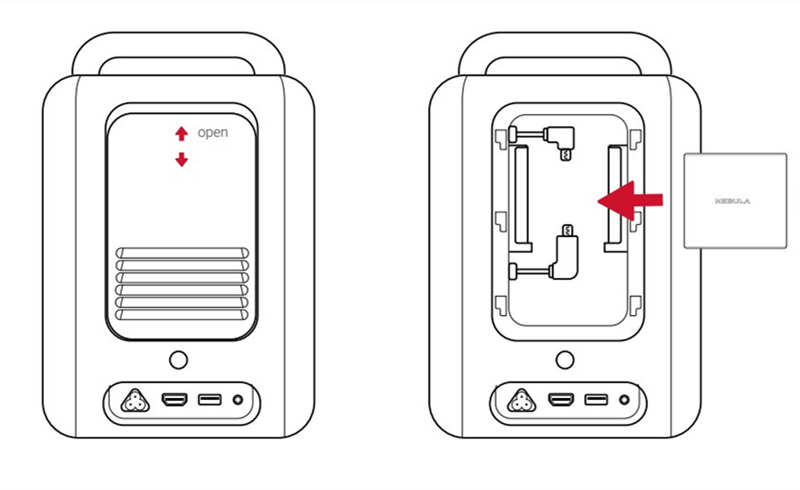
1. Press up to open the back cover.
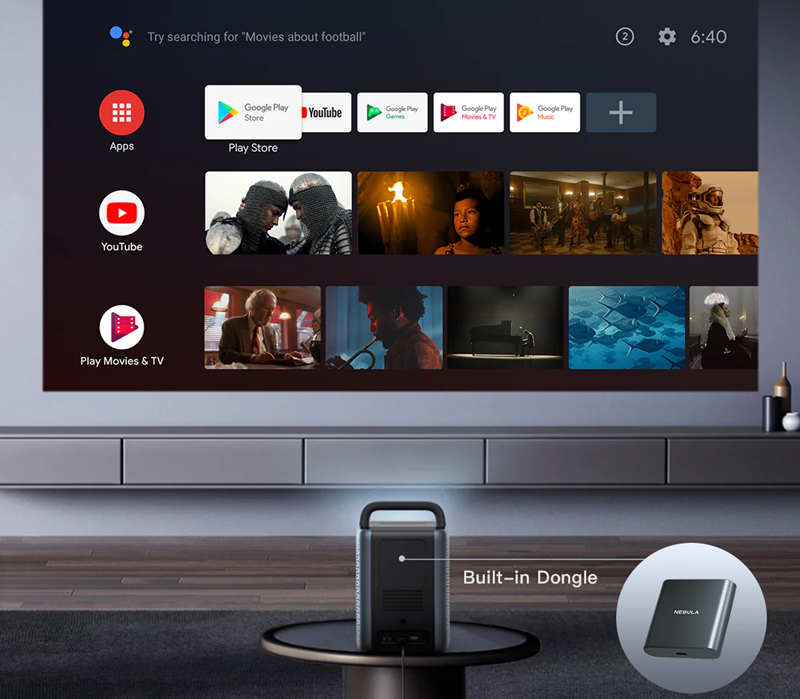
2. Correctly connect the included 4K Streaming Dongle to the Micro USB connectors, then close the dongle compartment by pressing down on the back cover.
Placement
You need to determine the projection mode of your Nebula laser projector, including front, rear, front ceiling, and rear ceiling based on the size and lightning of your projector.
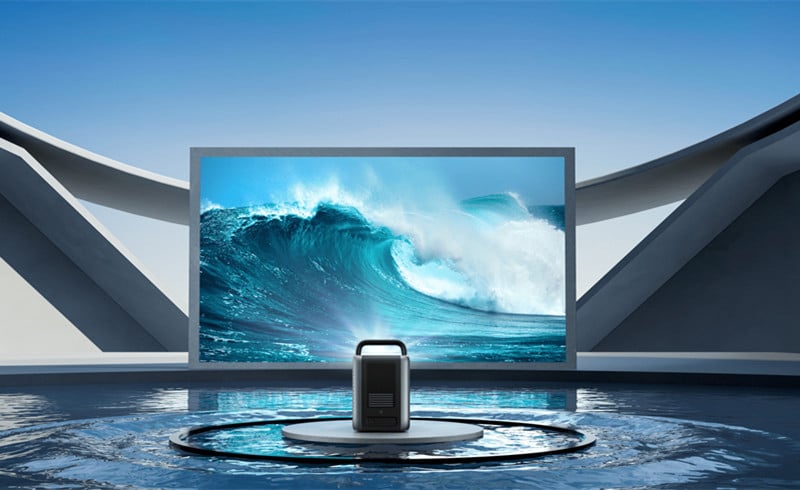
Front: The projector is placed on the table in front of the screen.
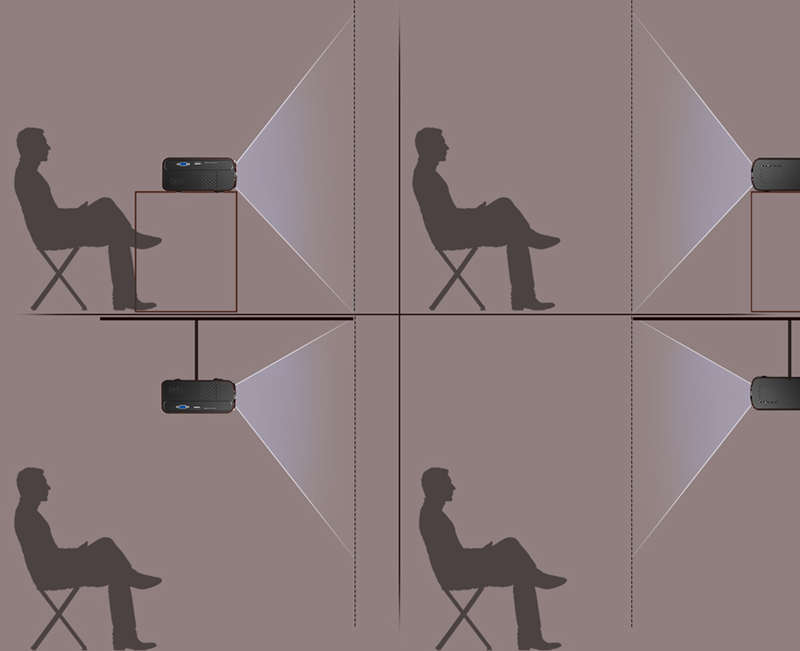
• Rear: The projector is placed on the table behind the screen. A special rear projector screen is required.
• Front Ceiling: The projector is suspended upside-down in front of the screen. You need a ceiling/wall mount kit that matches the projector.
• Rear Ceiling: The projector is suspended upside-down from behind the screen. A special rear projector screen and ceiling/wall mount kit are required.
The Nebula laser projector should keep away from any heat sources and should be placed in a cool and well-ventilated place.
To prevent overheating, do not block or clog the ventilation openings. Never cover the projector with any decorative coverings.
Setup
Follow the on-screen display (OSD) instructions to complete the basic setup.
• Bluetooth connection
• Select your language
• Set up your TV with your Android phone (Optional)
• Wi-Fi connection
• Sign in with your Google account
That’s all for the guide on Nebula laser projector setup.
Related Posts
Nebula Cosmos Laser 4K Projector Troubleshooting
Nebula Cosmos Laser 4K Projector iPhone Screen Mirroring Guide