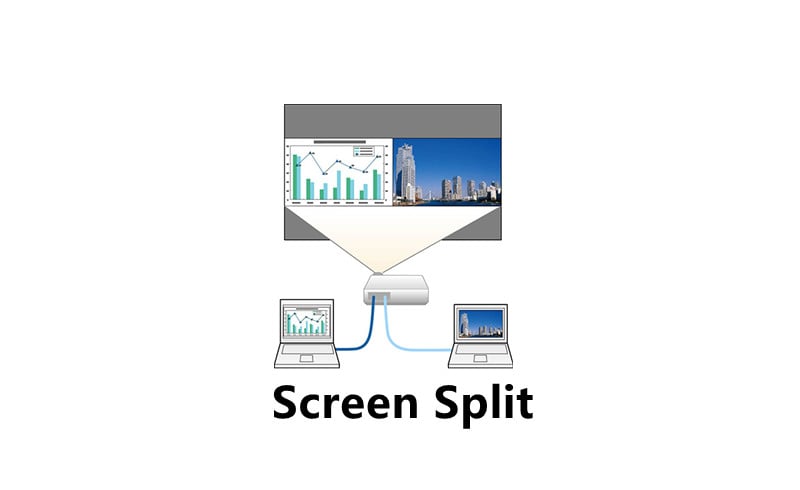
Some Epson projectors support Split Screen, meaning that you can simultaneously project two images from different image sources. Please read this guide to get detailed procedures.
1 Start Split Screen
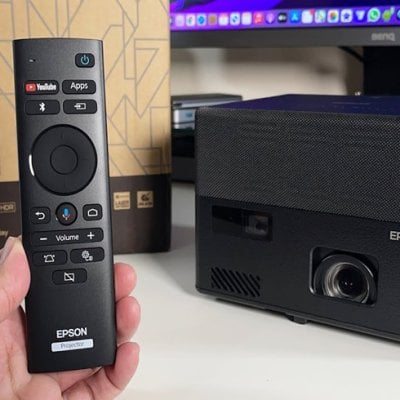
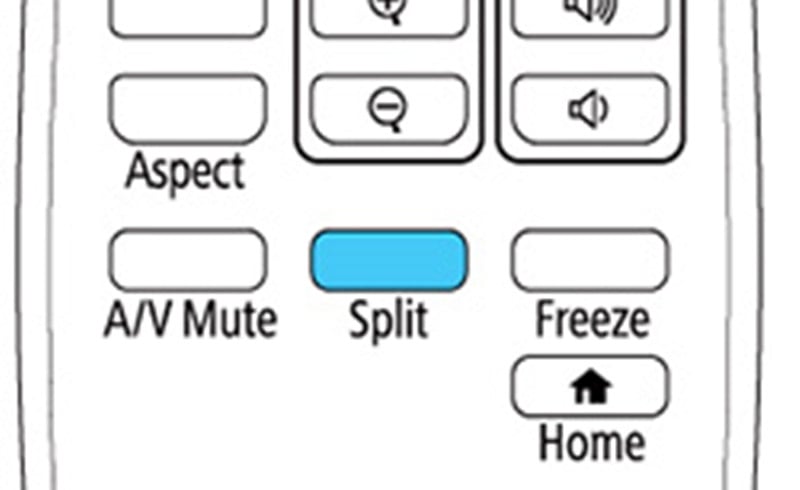
Press the Split button on the remote control.
Press the Menu button, then the Split Screen Setup window appears on your screen.
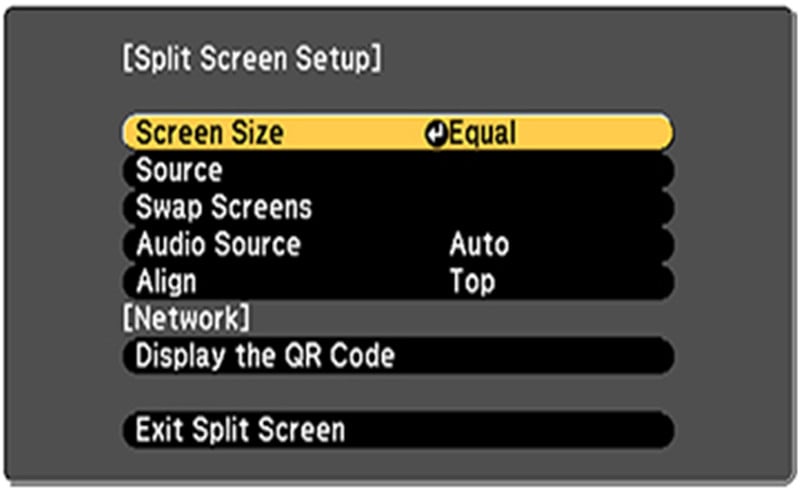
Select Source by means of your remote control; press Enter button; then select the Input Source; select Execute; then press Enter button.
2 Split Screen Adjustment
Switch the images: select the Swap Screens setting and press Enter.
Change the image sizes: select the Screen Size setting; press Enter button select a sizing option; press Enter button; and press Menu button to exit.
Choose the audio: select the Audio Source setting; press Enter button; select an audio option; press Enter button; and press Menu button to exit.
Align the projected images: select the Align setting; press Enter; select the Setting; press Enter; and press Menu button to exit.
3 Exit Split Screen
To exit the split screen feature, press the Split or Esc button.