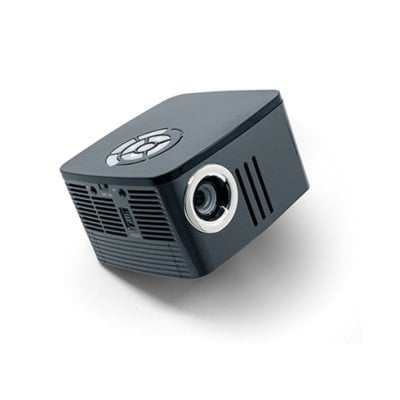
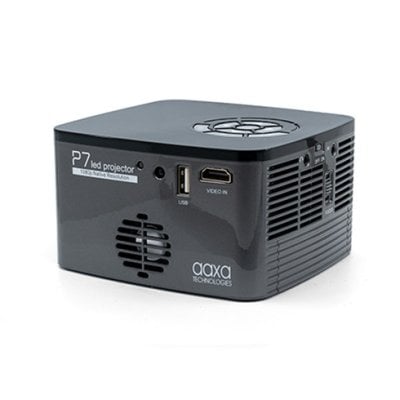
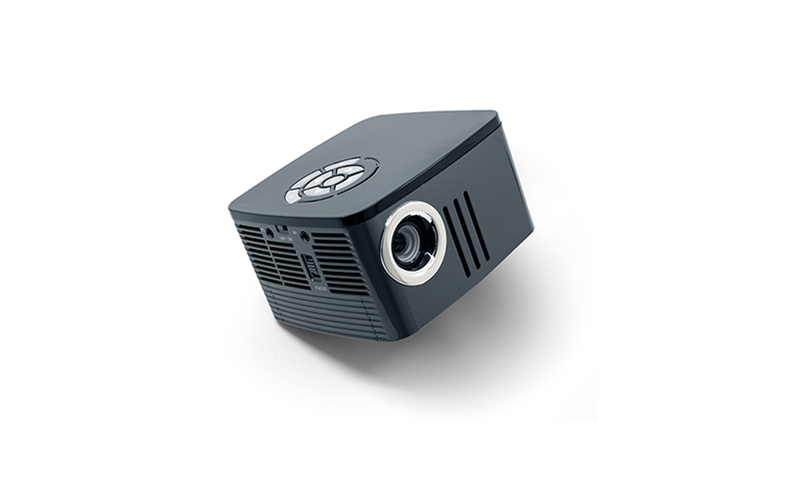
A projector with a battery enables you to use it in an outdoor environment without plugging in a socket. You can also install an external battery on your AAXA P7 projector. Just follow the steps below and install an external battery to your AAXA P7.
1. Turn AAXA P7 projector so that the bottom is facing up.
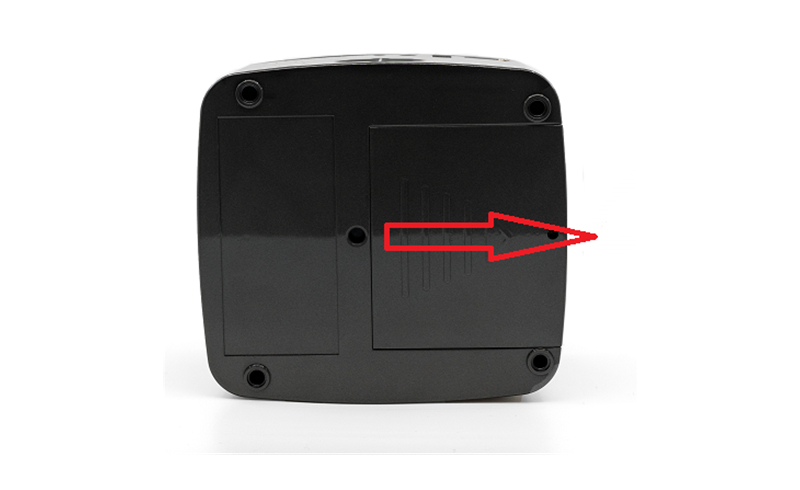
2. Grab your 2.0 mm screwdriver and unscrew the battery compartment through the small hole that the arrow is pointing, as shown in the picture below:

3. Once the screw is out, you can now push the battery cover in the same direction as the arrow.
4. Once the battery cover is removed, you can now insert your battery into the AAXA P7.
5. Connect the wire coming out of the battery into the 3-pin connection, as illustrated below. Make sure the connection is snug.

6. Ensure the battery is snugly attached to the battery compartment so the battery does not move around with the projector.
7. You may now re-screw your battery cover back onto the projector and enjoy your projector on battery power.
Related Posts
What to Do If AAXA P7 Can’t Charge or Turn On?
How to Connect AAXA P7 Projector to Computer?