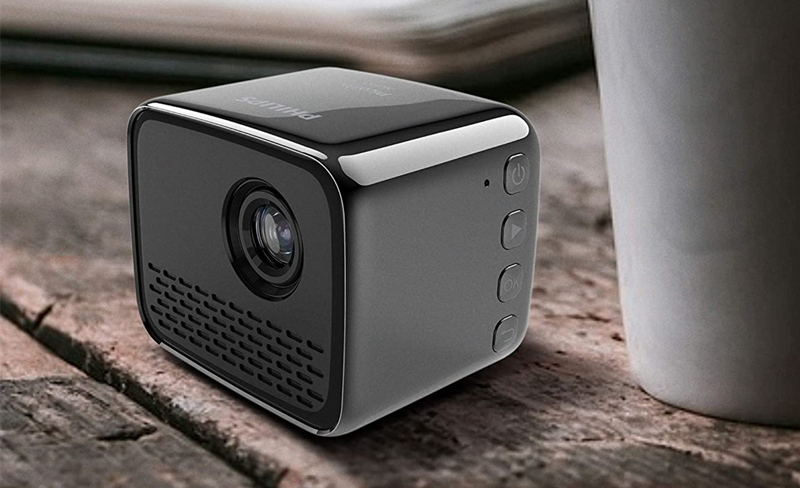
This tip helps you use the projector to play media from a wide range of sources. Keep on reading to learn how to connect video playback to Philips PicoPix Nano Projector.
The projector supports a USB storage device that is formatted for FAT16 or FAT32 file systems.
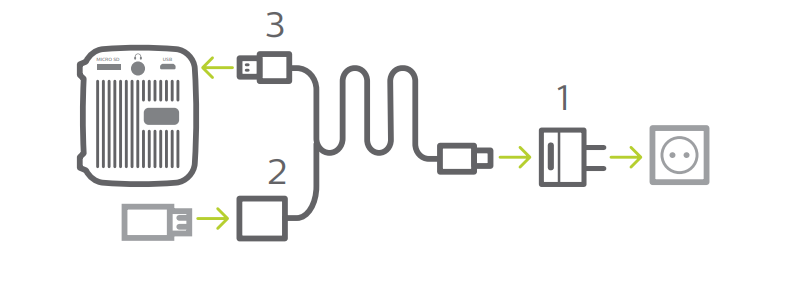
How to connect video playback to Philips PicoPix Nano Projector
1. Connect the USB Cable to the charger (or to a computer/power bank) then the USB storage device. Then connect the supplied USB cable to the USB port on the projector See the figure below.
• Recommend to use an external power when connecting a USB device.
2.On the home menu, select Media Player. The media format options are displayed.
3.Select USB or Card as a media format. The icons for music, video and photo players are displayed.

• Music icon: access and play audio files only.
• Video icon: access and play video files only.
• Photo icon: access and play photo files only.
4.Select the video icon to activate video media player and access video files.
• If video media player is selected, only the playable video files can be displayed.
5.Select a video file and press OK to play video.
6.During playback, the playback control bar is displayed on the bottom of the projection screen. Use the right button and OK buttons to select a playback function, such as , volume, pause/resume, repeat play, fast forward/ backward, etc.
Read more:
Philips NeoPix Prime 2 Projector PC Connection Troubleshooting
Philips NeoPix Prime 2 Projector No Sound from External Device Solution