You can connect your projector to computer through WIFI easily, however, there is another way to connect your projector directly to your computer. Keep on reading to learn this simple tip.
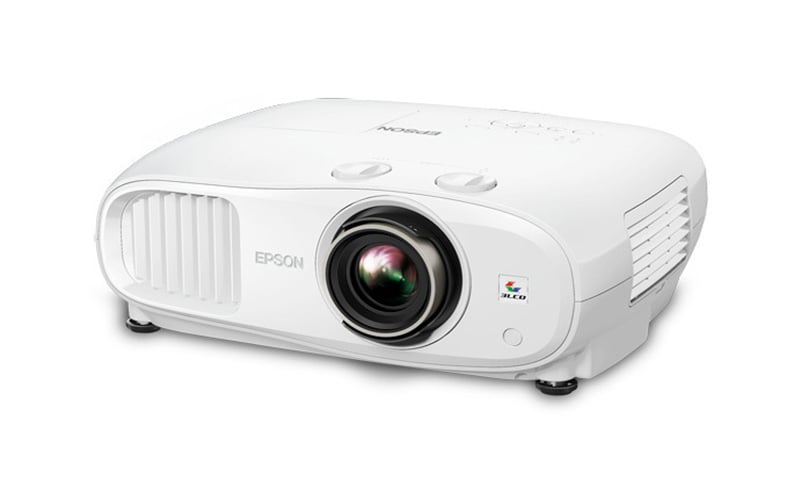
Step 1: Install the Epson iProjection Software on your Computer
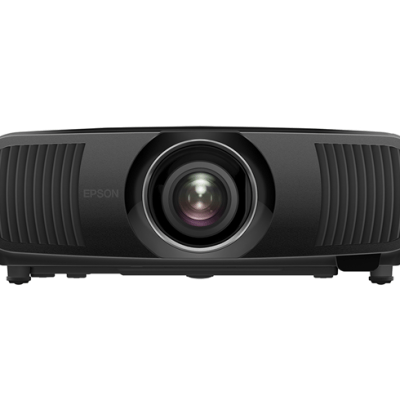
The Epson iProjection Software (You can download the iProjection software from the Epson website) allows your computer to connect to your Epson projector without WiFi. It works on both Windows and Mac devices. By running the Epson Projector Software CD and following the set up guide, you can simply install this software on your computer. With this iProjection software installed, our preparation for connecting computer and Epson projector directly is done.
Step 2: Connect the projector directly to the computer
Go to the Menu by using your projector remote, or hitting the Menu button on the projector. Find the Network Configuration option then enter. Select the Wireless Lan menu and then enter. Click on the Quick option under Connection mode on the menu. Now your Epson projector is directly connected to your computer.
If you scrolling down, you may find the Security option, which allows you to secure the connection by setting a password. Enter the Security, set it to WPA2-PSK. Now you can create any password that you want to protect the connection between projector and computer.
Where to enter the password? Turn on your computer, you may see your projector’s name on the list of available wireless networks. Your projector’s name should appear on this list. Enter the password and then click Connect.

