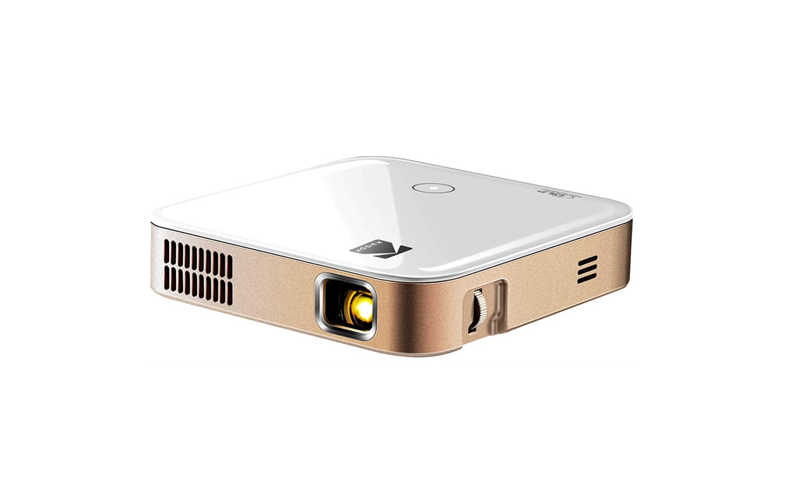
If you are looking to update the firmware of your Kodak LUMA 350 projector, let me get you through the steps to finish the task.
Steps to update firmware of Kodak Projectors
1. Download this zip file to an empty USB flash drive (do not unzip the file). Please make sure that your USB drive has no other files on it, and that it has been formatted to FAT32. (See this link on how to format a USB drive to FAT32).
2. Insert the USB flash drive into the USB port on the KODAK LUMA 350 projector. Please make sure the projector is powered off.
3. Power on the projector by pressing the power button on the side. Please do not remove the USB flash drive until the update process is completed.
4. After a few moments (in some cases, 1 to 2 minutes), the projector will automatically start updating itself with the new firmware.
5. Remove USB flash drive and enjoy the updated KODAK LUMA 350 projector.
However, if you own one the older model of Kodak projectors, you will find that your projector fails to automatically update itself, and you will need to activate the update manually.

Steps to update firmware of older Kodak projectors
Once you have followed Steps 1 through 3 above, please continue with the following next steps:
1. Go to the Settings page on your projector and select the More button.
2. On the More page, select Update. This will open the Update page.
3. On the Update page, select the Select button. This will display the path and filename of the zip file.
4. Select the zip file. This will bring you to the previous screen, which should now display the zip file.
5. Select Update. A dialogue box should pop up.
6. Select Update on the dialogue box, and the projector will begin the update process. This should only take a few minutes.
7. The projector should now boot up with the most current version of the firmware.
8. Remove the USB drive and enjoy your updated KODAK LUMA 350 projector.