When your projector’s image starts to dim or flicker, it’s often an indicator that the bulb inside is nearing the end of its lifespan. The good news is, yes, you can change the bulb in a projector. This guide will walk you through the process, making it smooth and easy for you to maintain your projector’s optimal performance.
Understanding the Basics
Before we dive into the steps, let’s cover the basics.
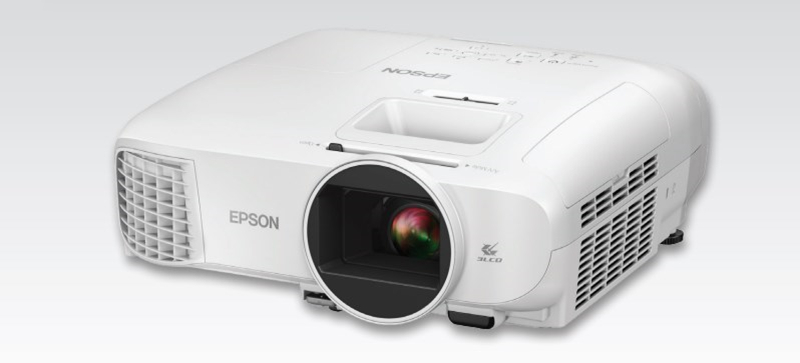
Projector bulbs, commonly referred to as lamps, have a finite lifespan, typically measured in hours of use. The exact number of hours can vary between projector models but usually falls in the range of 2,000 to 6,000 hours or more.
When Should You Replace the Bulb?
The need to change a projector bulb arises when you notice a significant reduction in brightness, distorted colors, or flickering images. This indicates that the lamp has reached the end of its life cycle.
What You Will Need
To change the bulb in your projector, you’ll need a few items:
- New Bulb: Make sure it’s compatible with your projector model.
- Screwdriver: A Phillips-head screwdriver is usually required.
- User Manual: This will provide specific instructions for your projector model.
- Soft Cloth: For handling the new bulb and cleaning.
The Step-by-Step Process
- Turn Off the Projector: Ensure it’s unplugged and completely cool.
- Access the Lamp Housing: Refer to your user manual to locate the lamp housing. This may involve removing a cover or a panel. It’s often on the underside of the projector.
- Remove the Old Bulb: Carefully unscrew the lamp housing and gently remove the old bulb. Avoid touching it with your bare hands as the oils from your skin can damage the bulb.
- Install the New Bulb: Insert the new bulb into the lamp housing, making sure it’s securely in place. Follow the provided instructions for your specific model.
- Secure the Lamp Housing: Reattach and securely fasten the lamp housing. Make sure it’s correctly aligned and tightened.
- Reset the Lamp Timer: Some projectors have lamp timers that need to be reset to register the new bulb’s lifespan. Again, consult your user manual for guidance.
- Clean and Replace the Cover: Use a soft cloth to clean any fingerprints or smudges from the new bulb. Then, reattach the cover or panel you removed.
- Power On and Test: Plug in your projector and turn it on. Ensure the new bulb is functioning correctly and that the image is bright and clear.
Final Thoughts
Changing the bulb in a projector is a routine maintenance task that can significantly extend the life of your device. Be sure to follow your projector’s specific instructions as there may be minor variations in the process from one model to another.
Remember, handling the bulb with care and attention is essential. Avoid touching the glass surface, use a soft cloth if necessary, and always power off the projector before attempting any maintenance.
By following this step-by-step guide, you can keep your projector running smoothly and enjoy bright, high-quality images for years to come.
Don’t forget to check your user manual for model-specific instructions, and if you ever feel uncertain about changing the bulb yourself, consult a professional technician for assistance.
For more projector tips and advice, stay tuned to our site.